Binding & Cover time!
Part 1 – repairing the pages
Part 2 – sewing the signatures
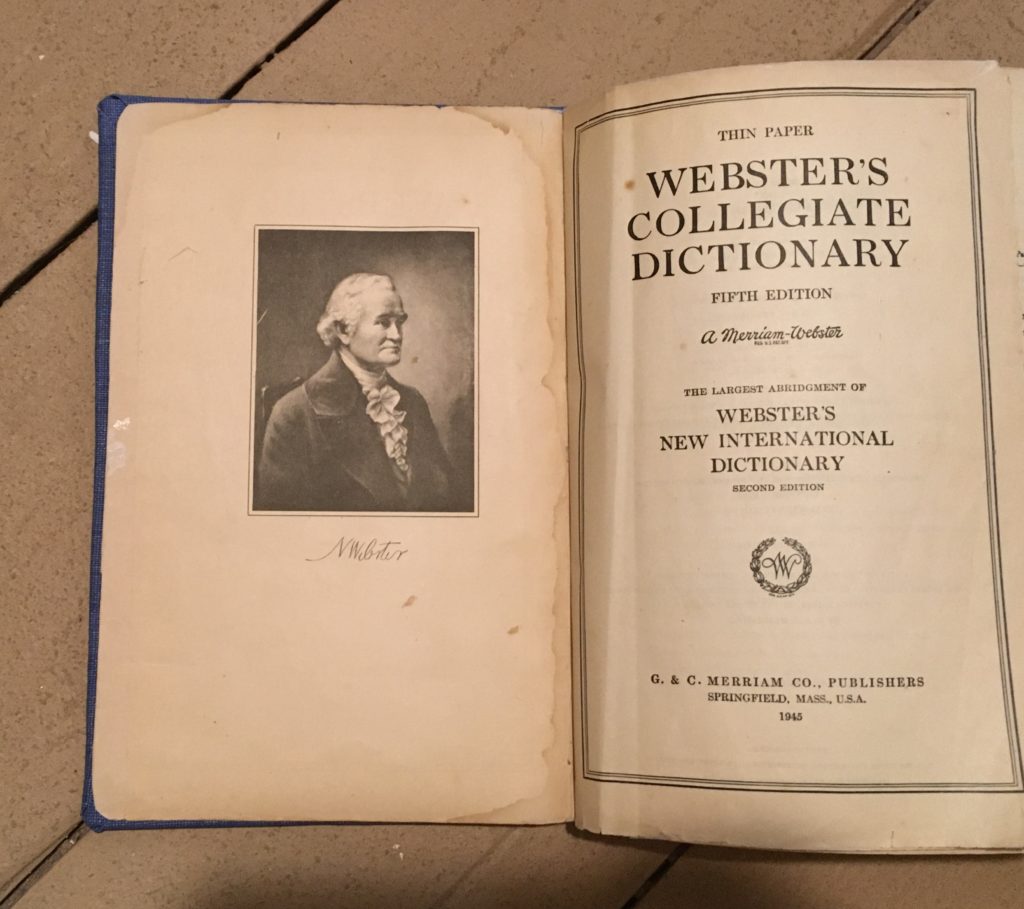
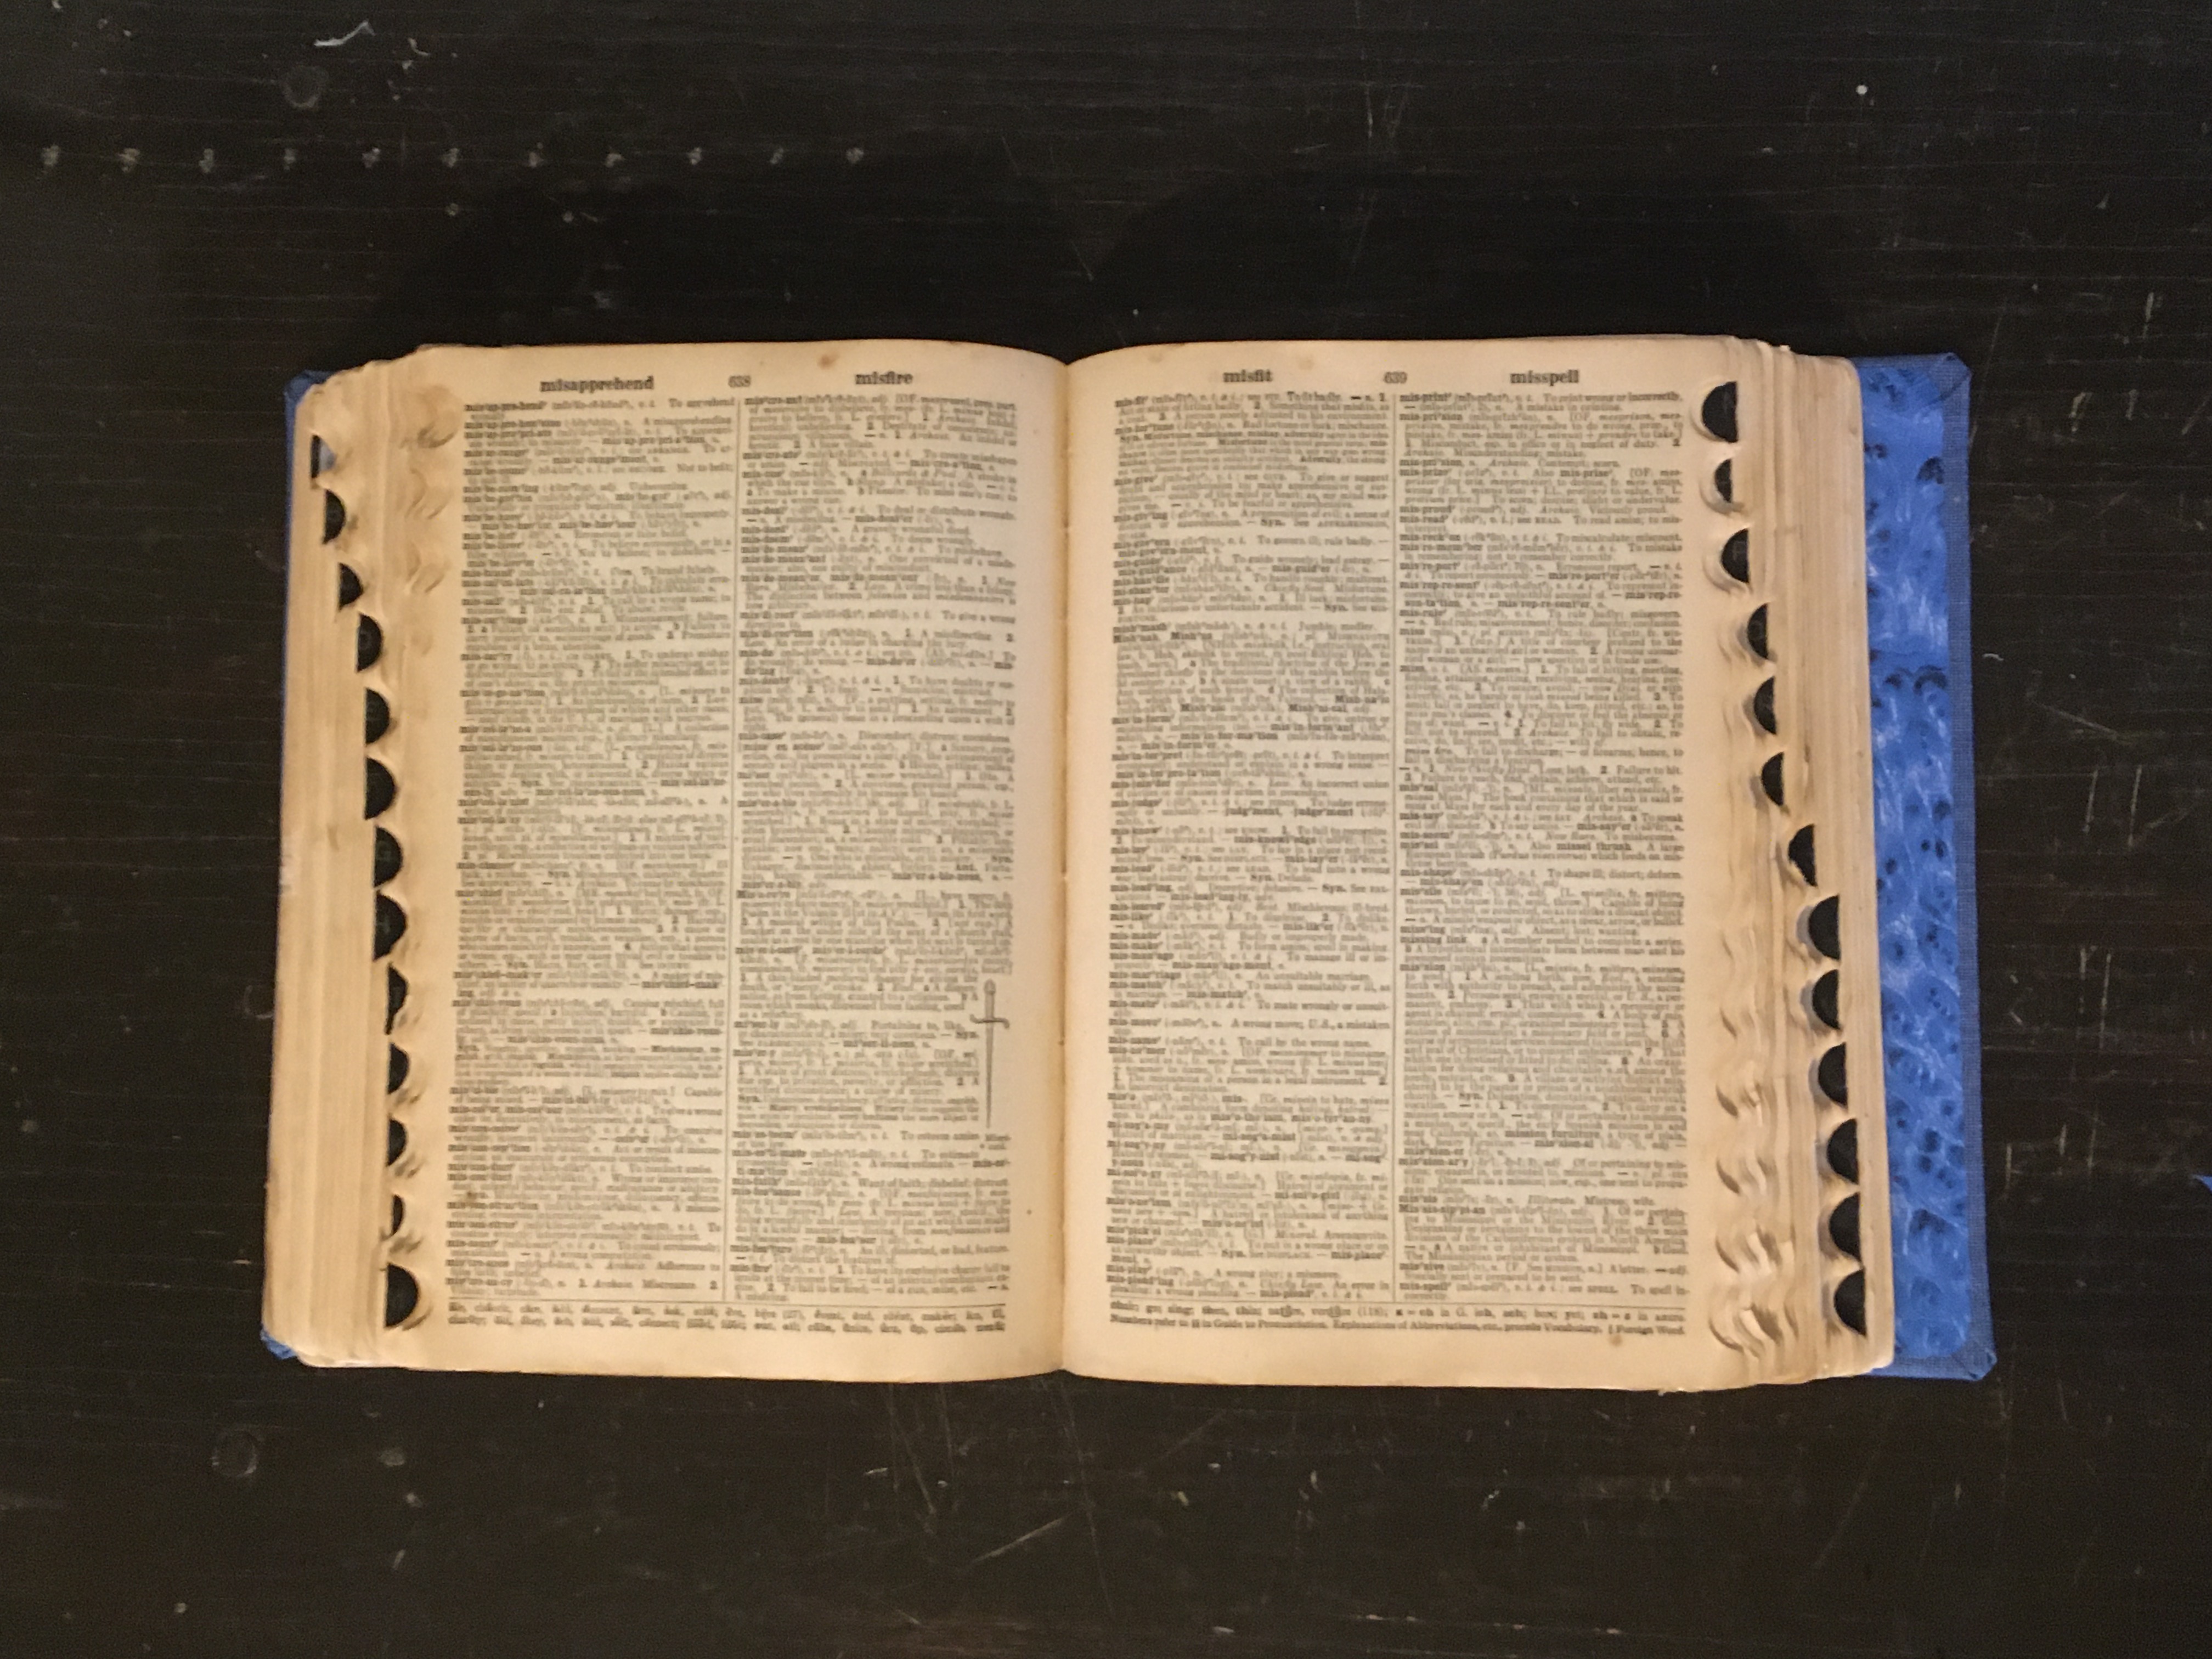
Getting ready to put on the cover, but first, there were several loose pages that were not part of any signature, so those were “tipped in” which is just a fancy way to say “glued in”. There were five inside the book, plus Mr. Webster at the front.
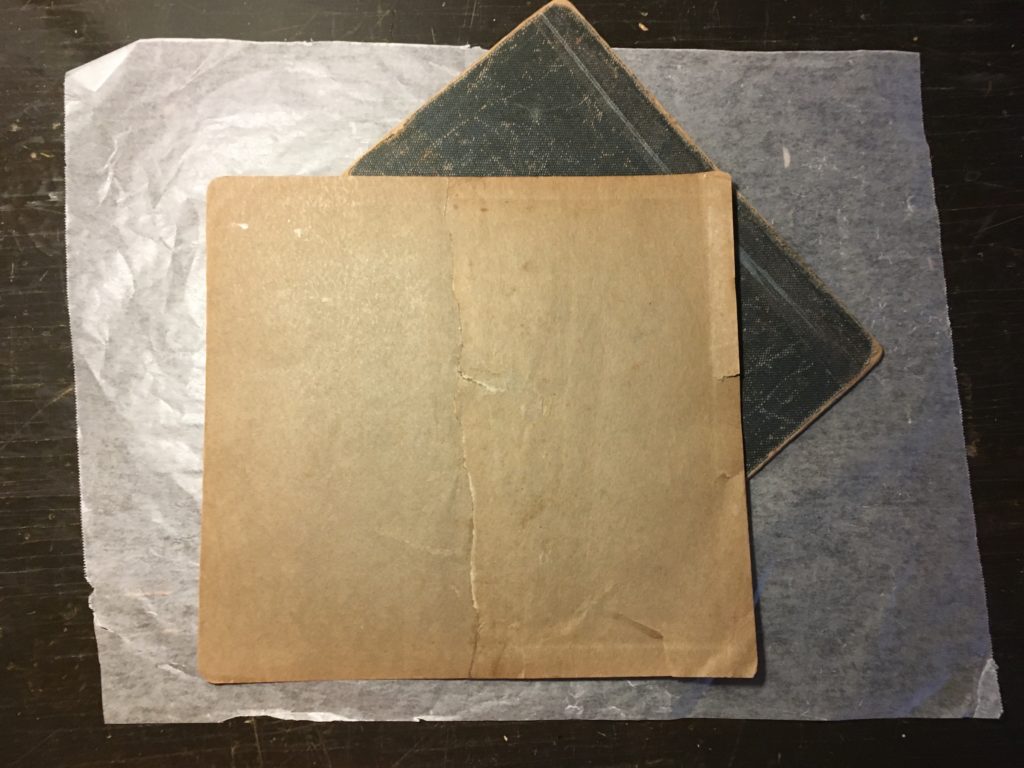
At the end of the book, the last page was missing. I guess it was probably a blank page? Whatever it might have been, it was gone now. So I used the end papers from the original, to make a new last page. They were pretty messed up, so I pieced the best parts of two of them together to make one new page and trimmed it to fit. I think it suits the project better than a brand new piece of paper would have.
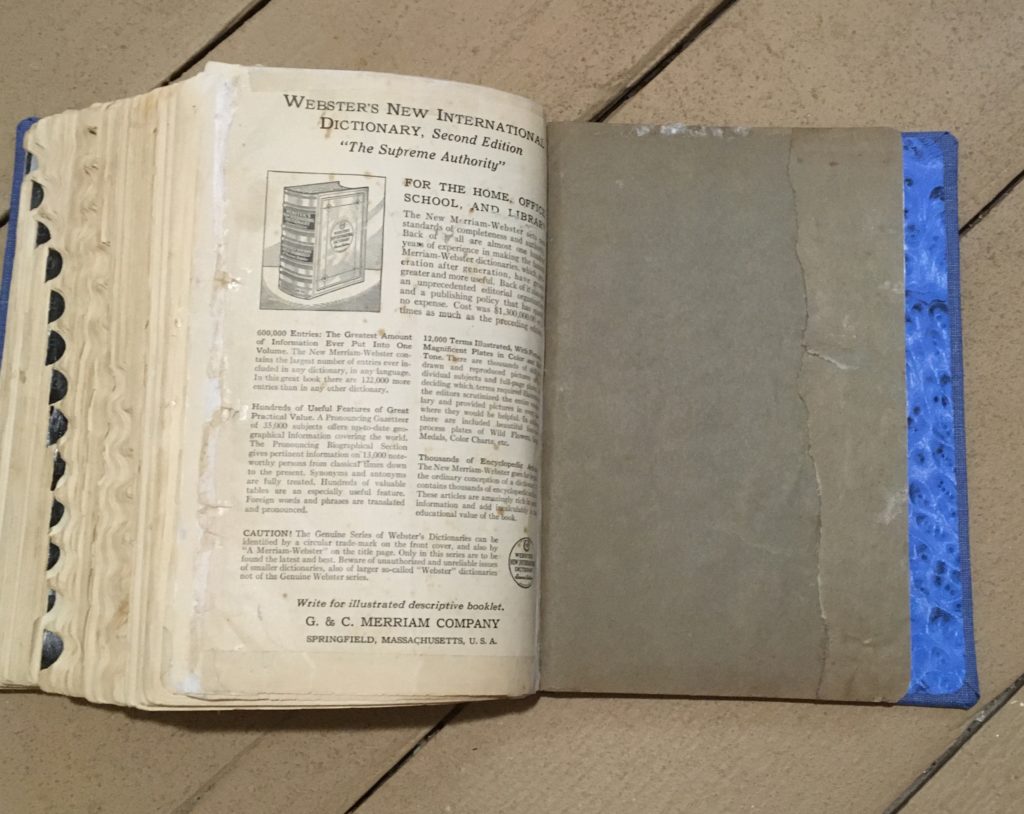
Now that all the pages are together, trimmed and tucked in the loose threads to tidy the spine.
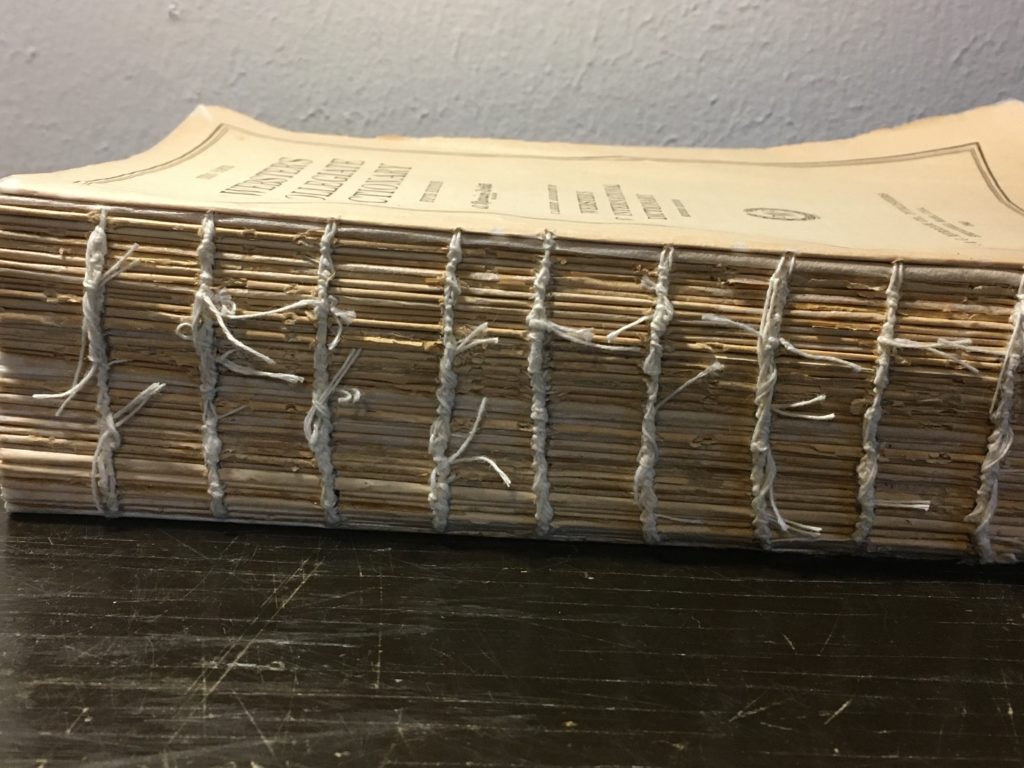
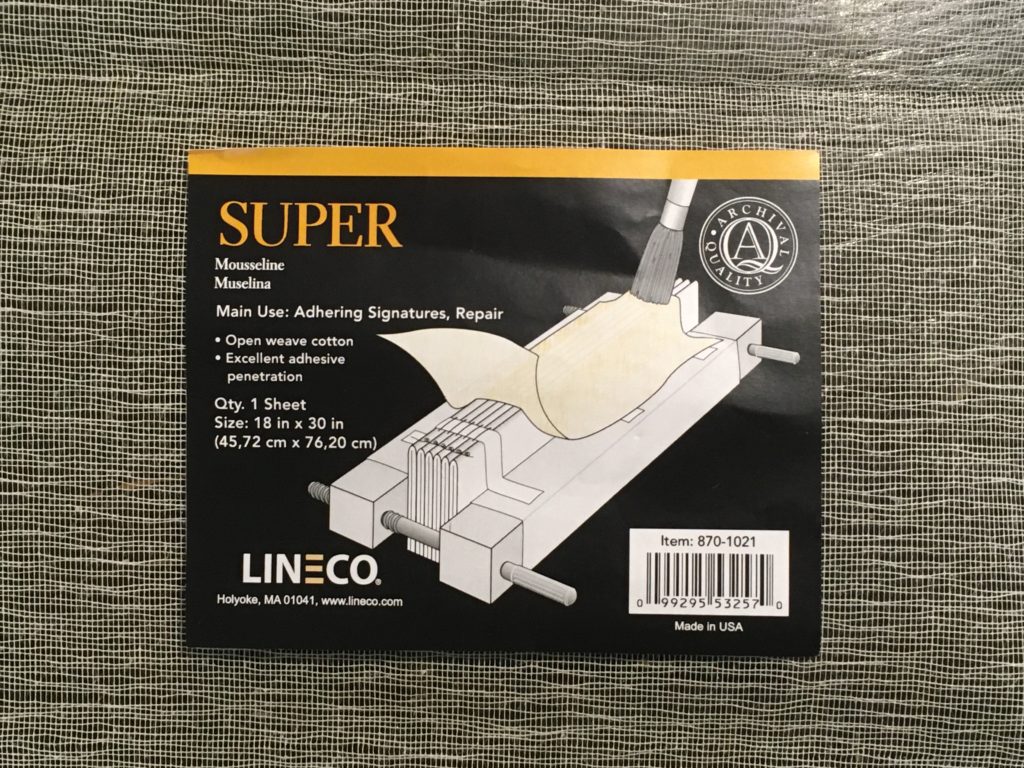
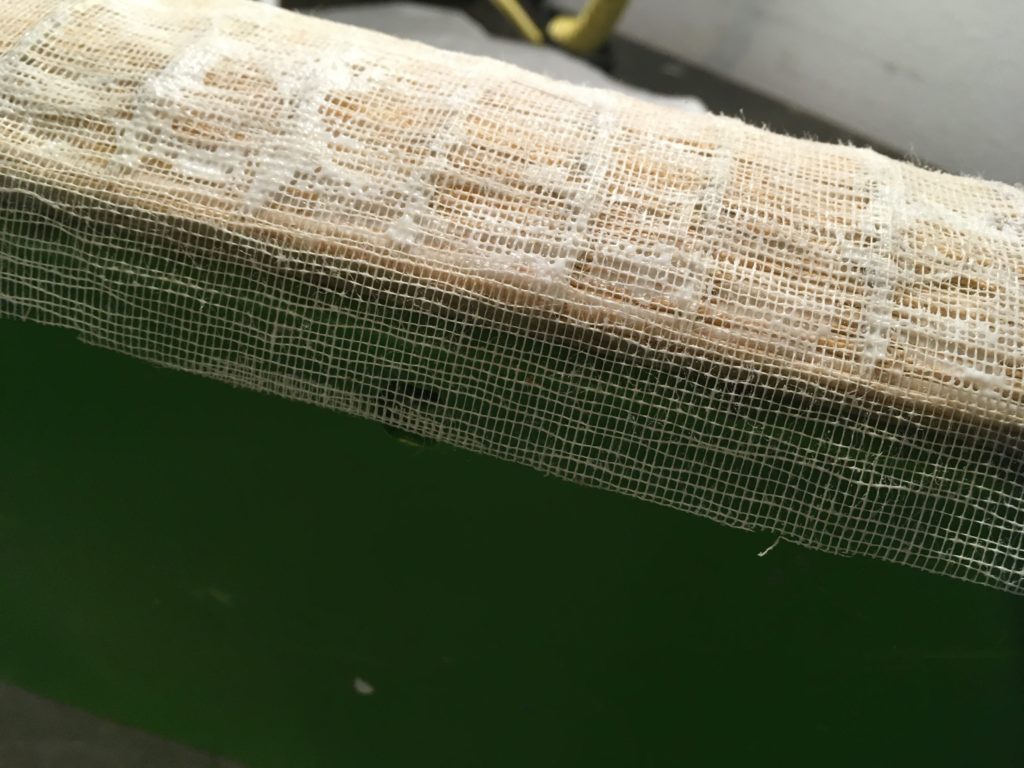
Used this loose open weave cotton product to add support on the spine for the signatures.
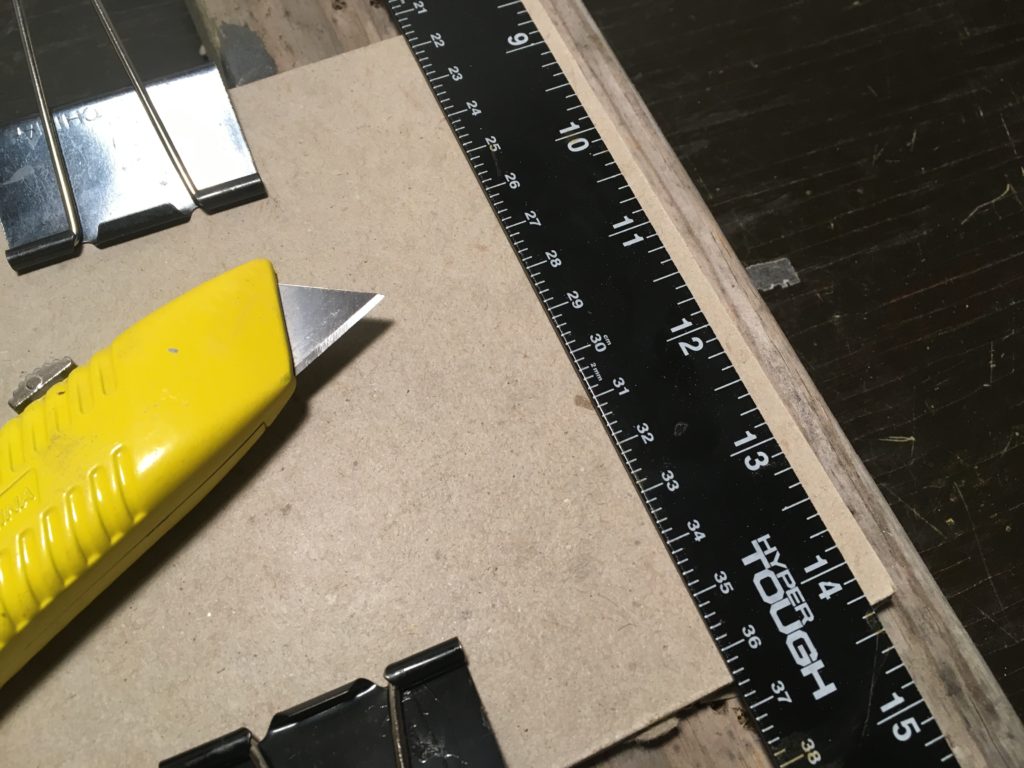
Now cut the board for the covers.
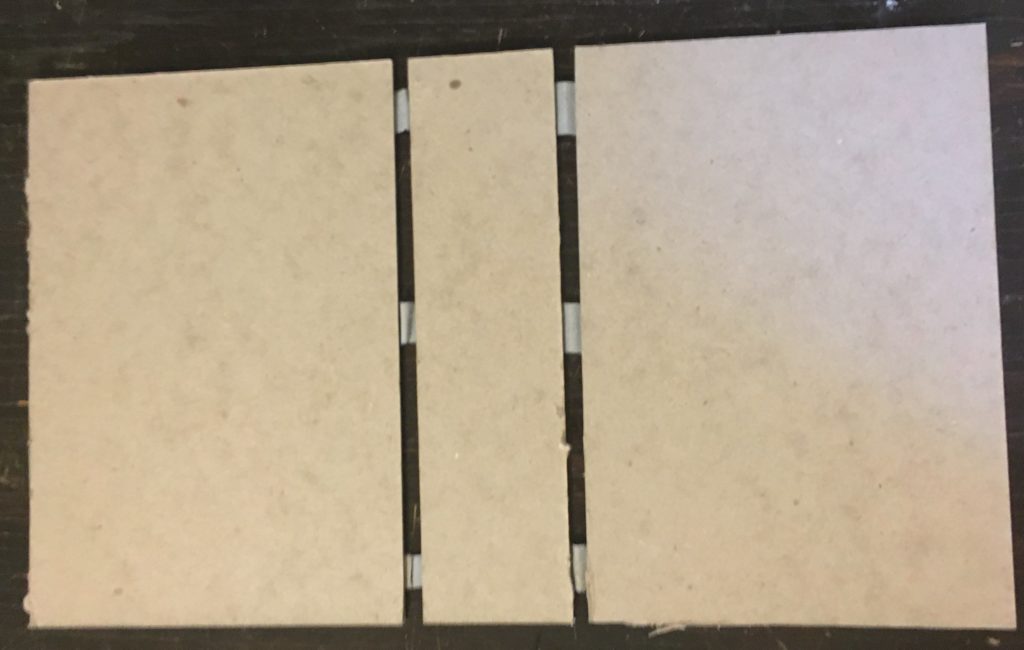
Here are the cover boards on the blue bookcloth. I was surprised by how similar this brand new cloth is to the old covers. It is a good match for restoring the old book, without changing the appearance too drastically, so that it will feel refreshed, but still familiar.
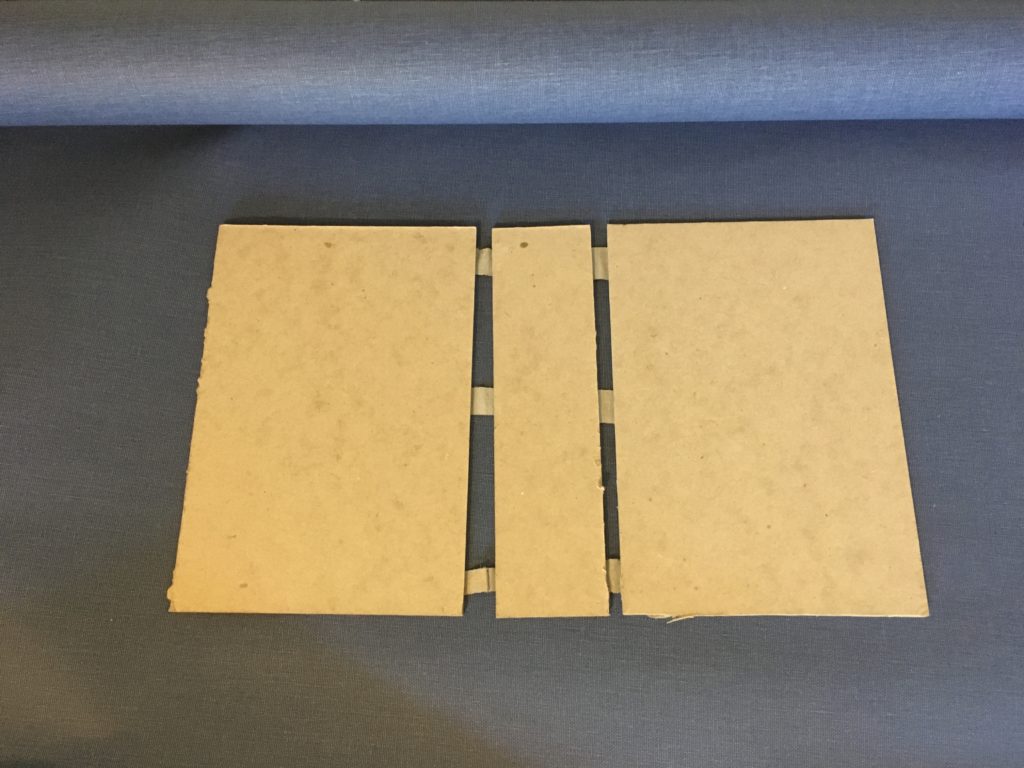
Glue the cover to the boards, started with the corner.
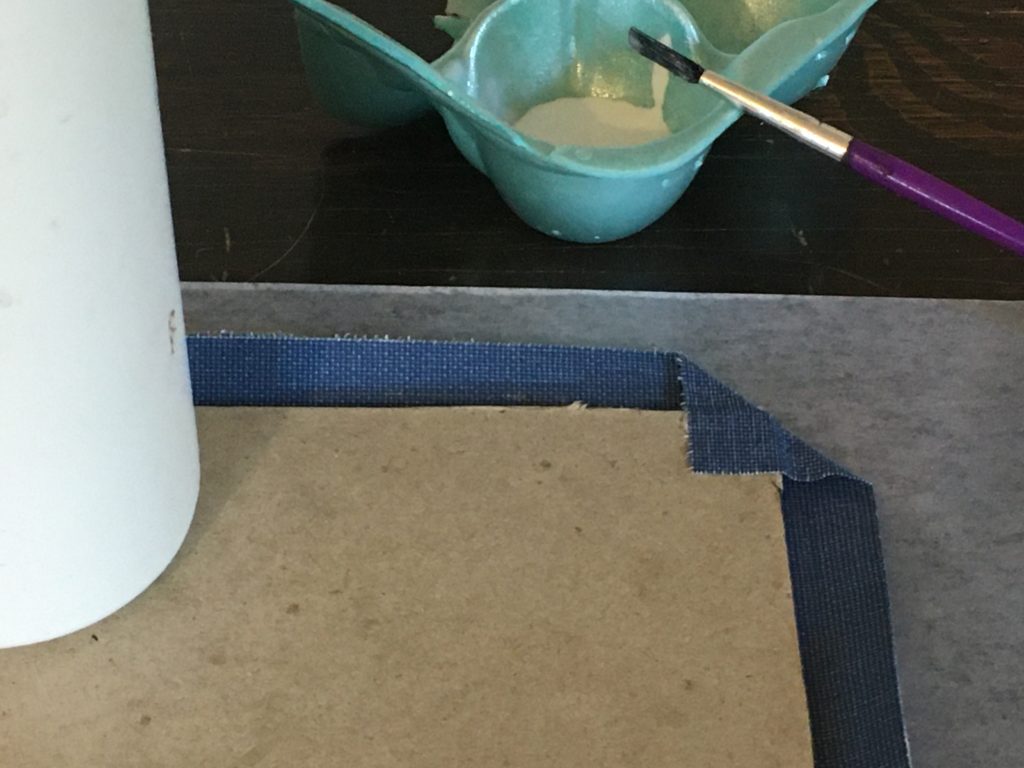
Glued up all the edges, step by step.
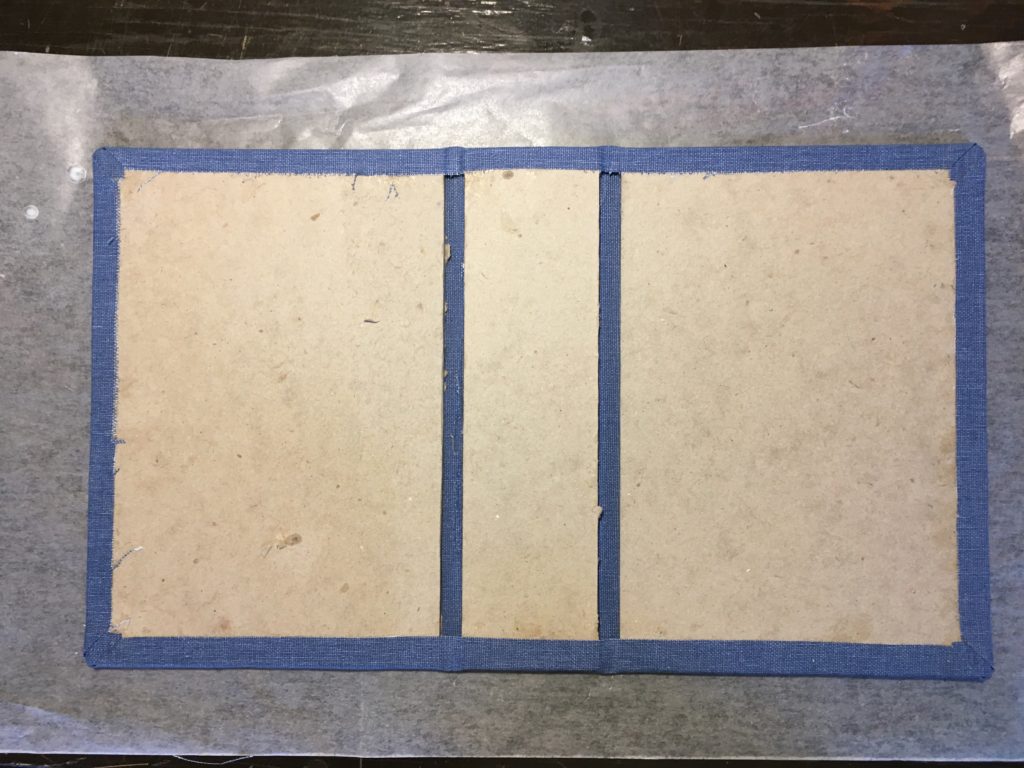
Ready to go in the press to dry.
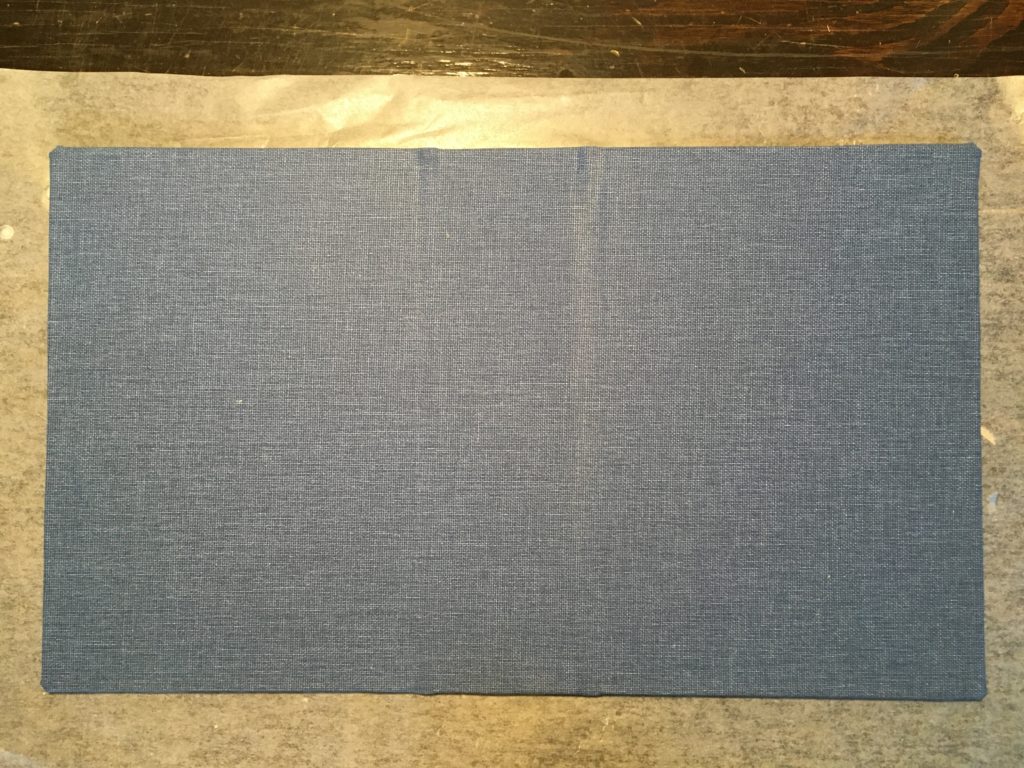
Symmetrical!
It worked right!
I’m excited!
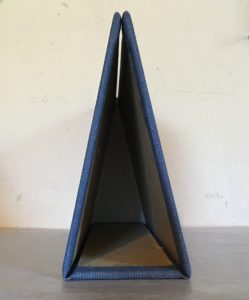
I have this pretty blue marbled-looking paper that will suit this project beautifully. This will be the end papers at front and back.

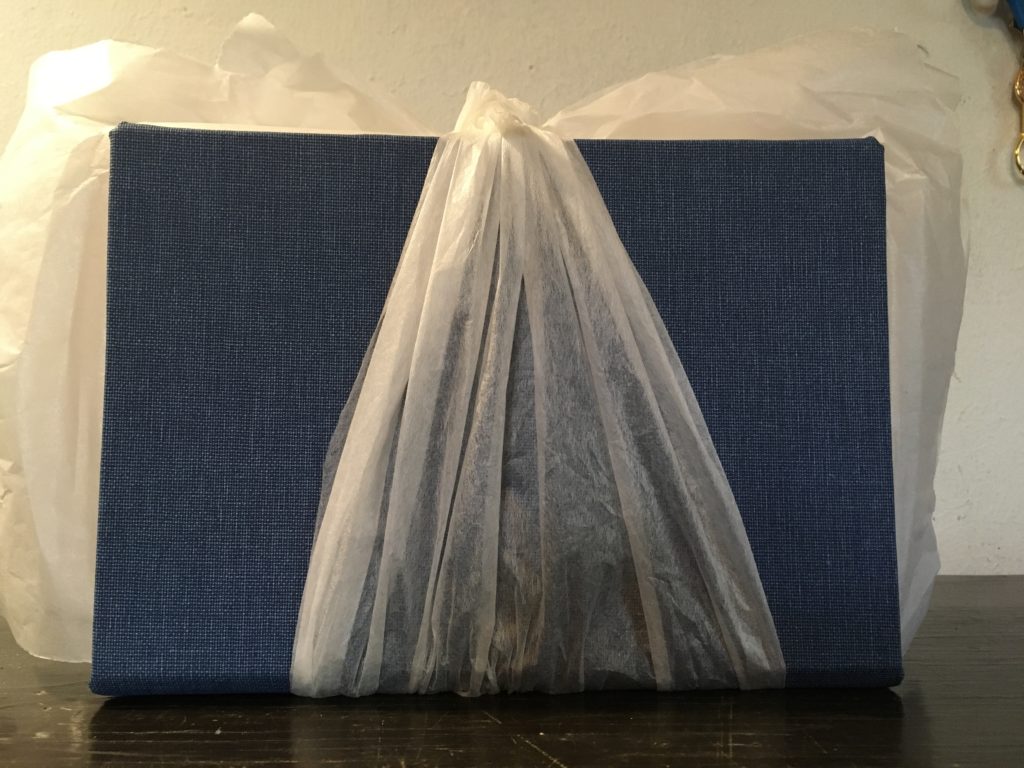
All done and tied up to hold it in place while it dries.
Now that the book is all back together, I went through it one last time, page by page, to check for any small tears I might have missed. When I finished that review, this is how much tape I had left!

It’s done!
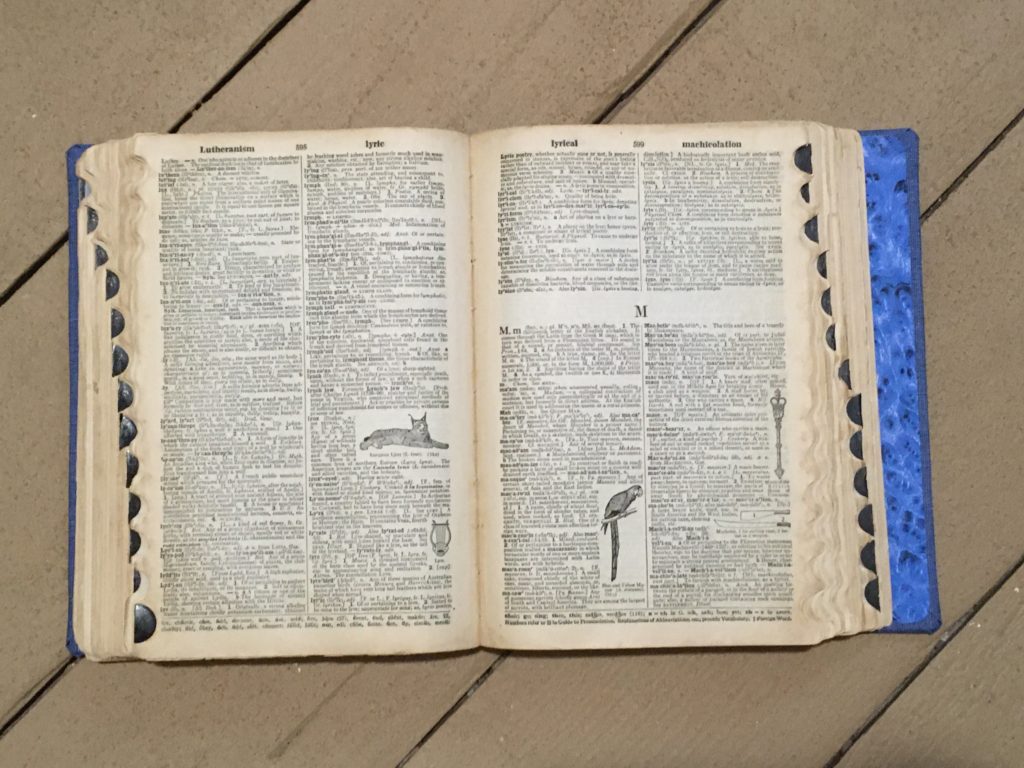
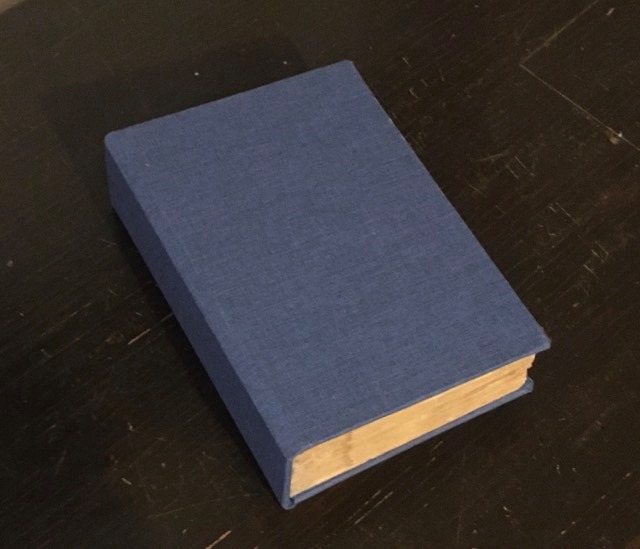
Thank you for reading!
~ The End ~

1 thought on “Dictionary Repair Part 3”