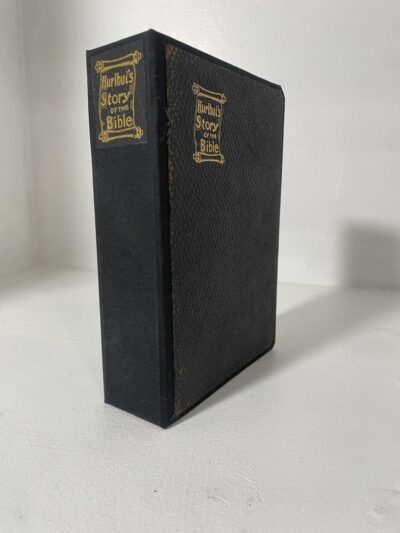
Hurlbut’s Story of the Bible
This was my mom’s story Bible from childhood that she asked me to repair. What a treasure!
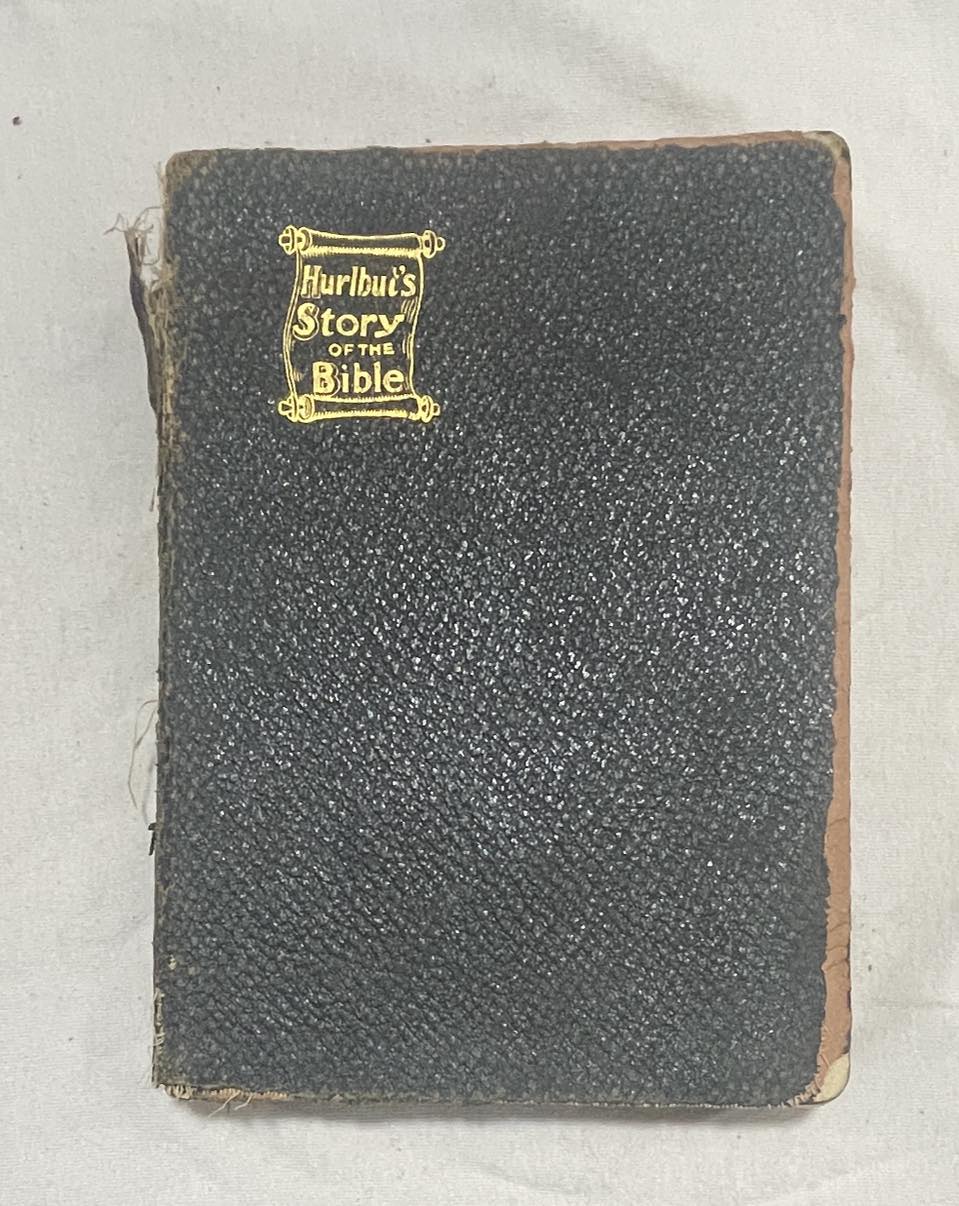
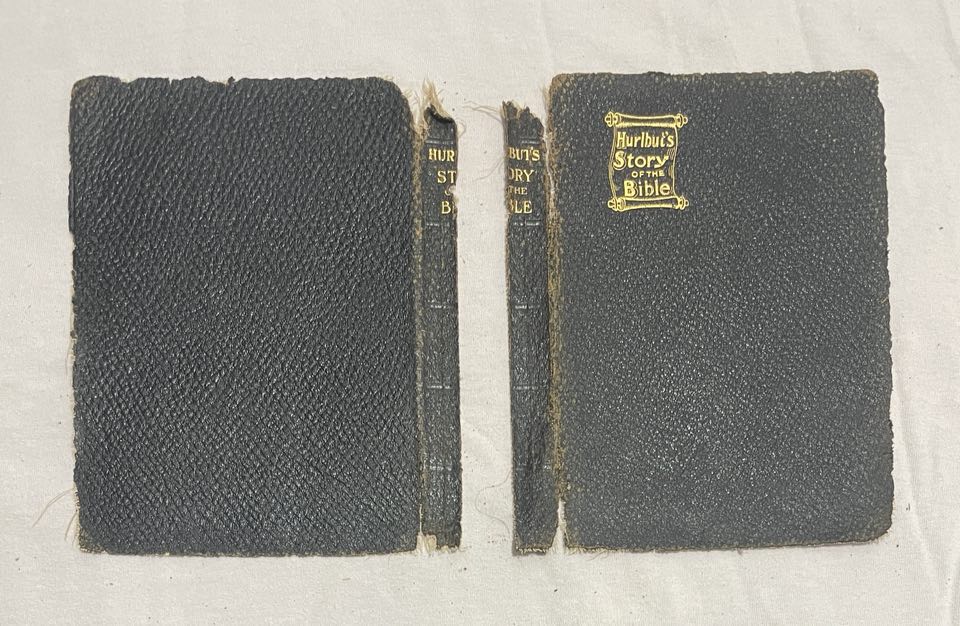
Front cover …. this is a book that was loved and used, and did not just sit on a shelf.
![Picture of front cover of the Hurlbut's Story of the Bible](https://bigthicketbooks.com/wp-content/uploads/2024/11/1-front-cover.jpg)
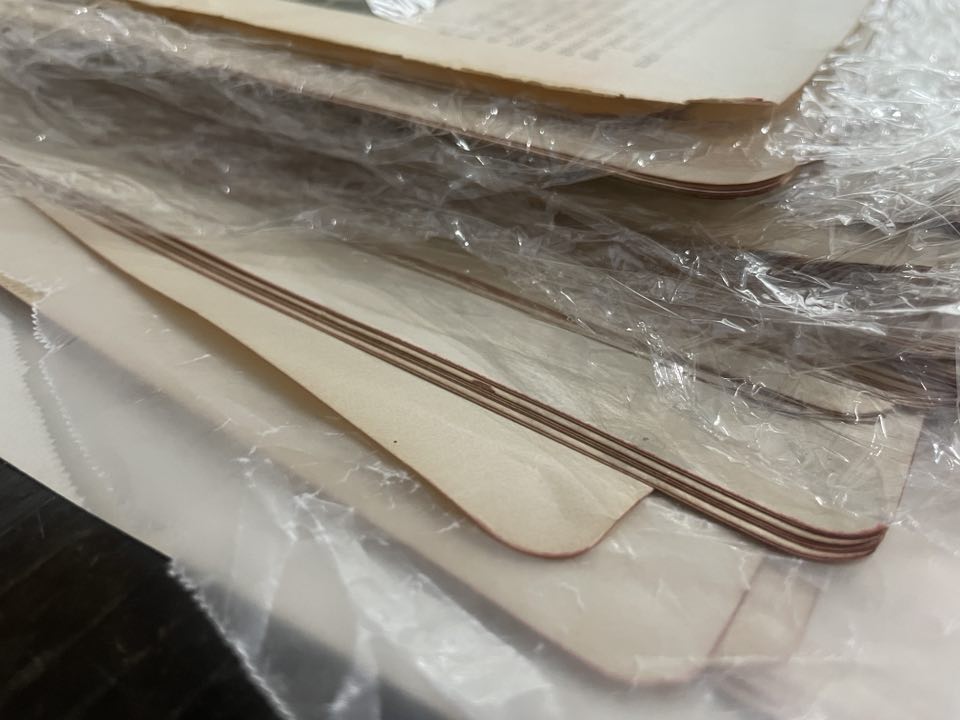
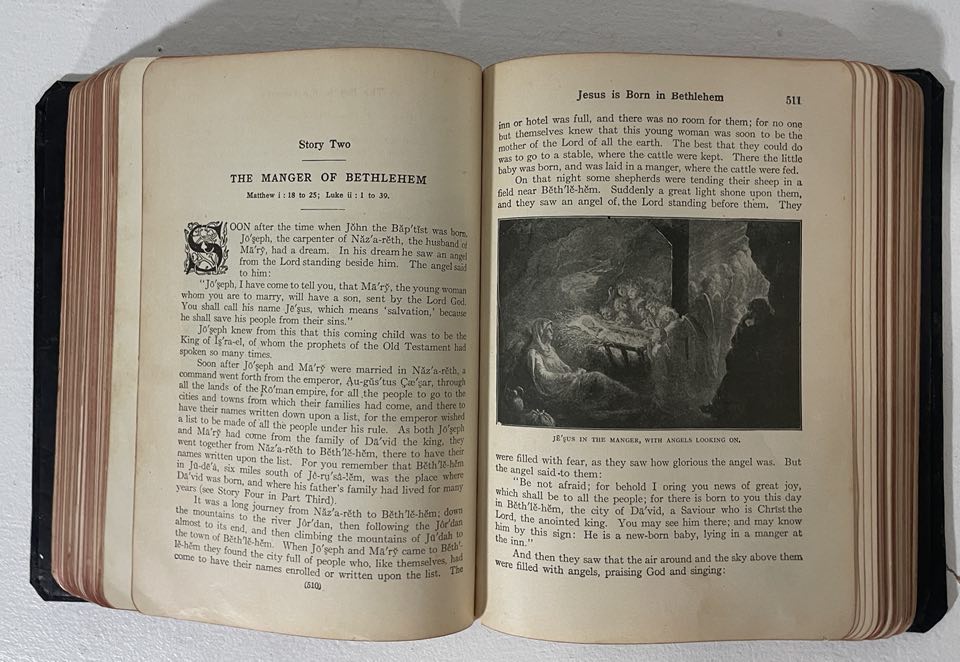
Beautiful golden foredges!
![Picture of gold leaf on foredge of the book](https://bigthicketbooks.com/wp-content/uploads/2024/11/2.2.jpg)
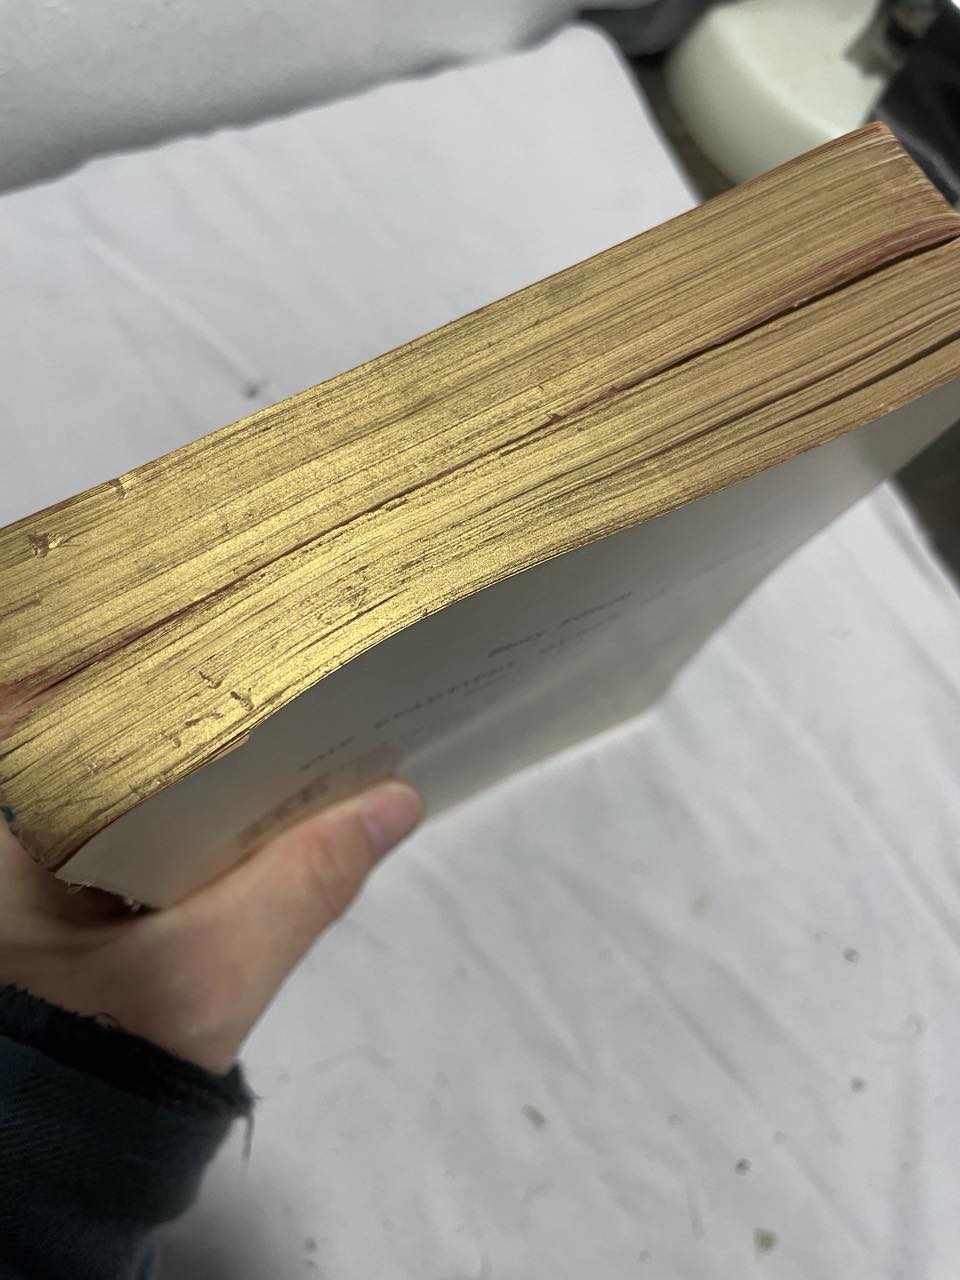
Definitely I will not be trimming any of that off!
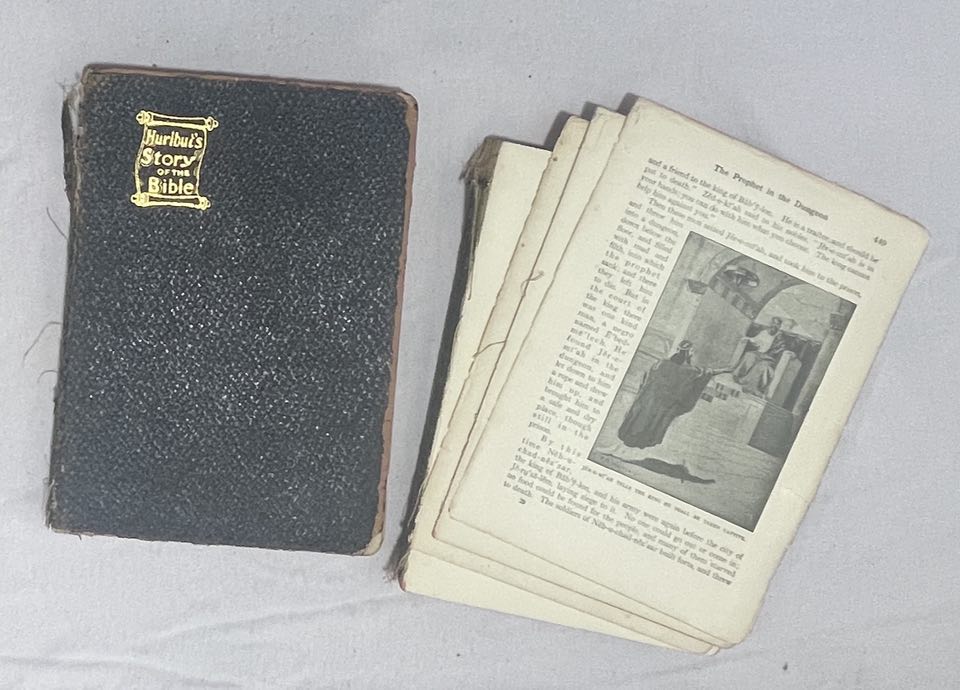
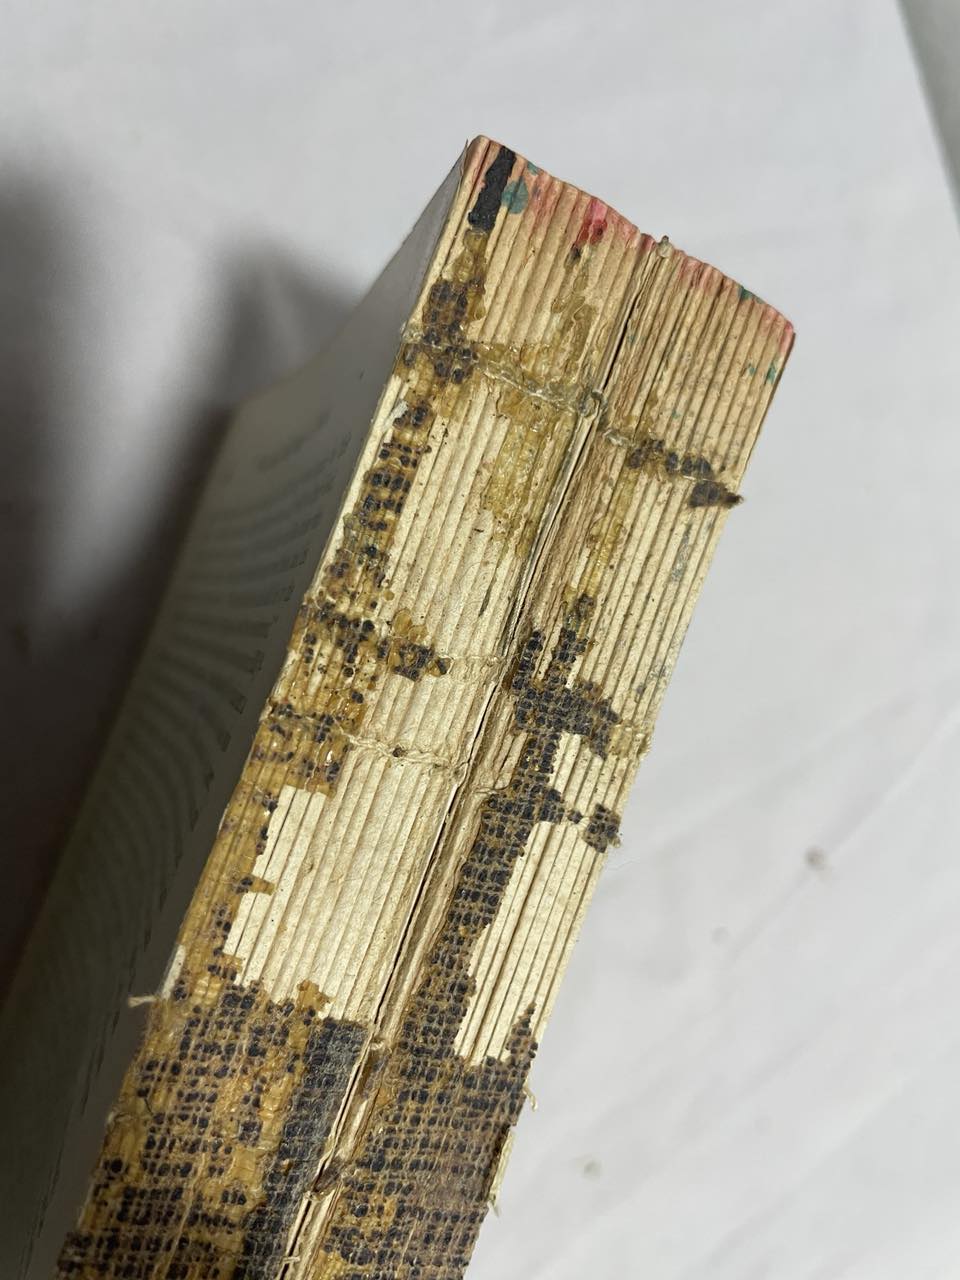
This book was in pretty good condition, considering its age, but somewhere along the way it had split apart, almost exactly in half.
![Picture of book has separated into two sections, right down the middle of the spine.](https://bigthicketbooks.com/wp-content/uploads/2024/11/2.5.jpg)
![Book cover and interior pages in two separate pieces because the book has been taken apart.](https://bigthicketbooks.com/wp-content/uploads/2024/11/2.4.jpg)
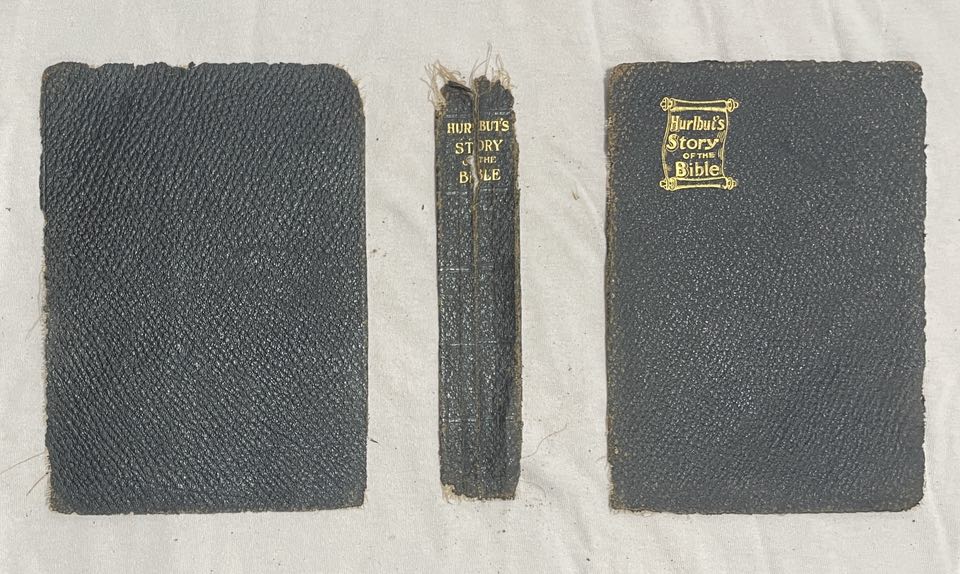
First, I took off the cover. It came away in two sections.
![picture of the cover, taken off, in two pieces.](https://bigthicketbooks.com/wp-content/uploads/2024/11/3-covers-in-two-pieces-as-removed.jpg)
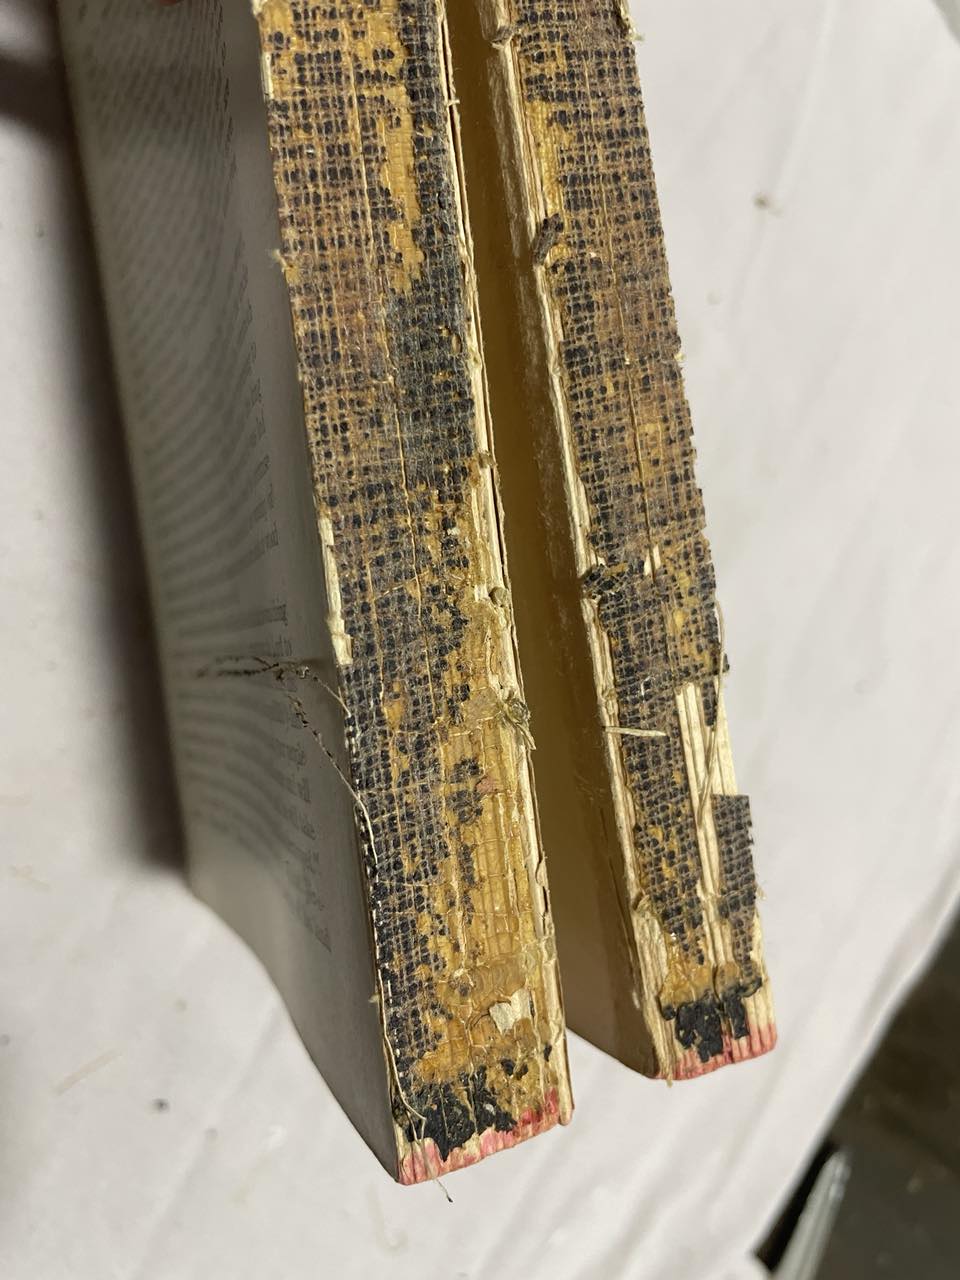
After I had it off, then I cut off the two pieces of the spine, so those could be joined back together.
![Another picture of the cover taken off, but this time has the spine in the middle of the two pieces of cover.](https://bigthicketbooks.com/wp-content/uploads/2024/11/4-covers-in-two-pieces-as-redone.jpg)
Next was time to remove the yuck from the back of those pieces … old glue leftover from the past.
![Back side of the spine, a mesh that has old glue dried on it](https://bigthicketbooks.com/wp-content/uploads/2024/11/5-back-side-of-the-two-pieces-of-the-spine.jpg)
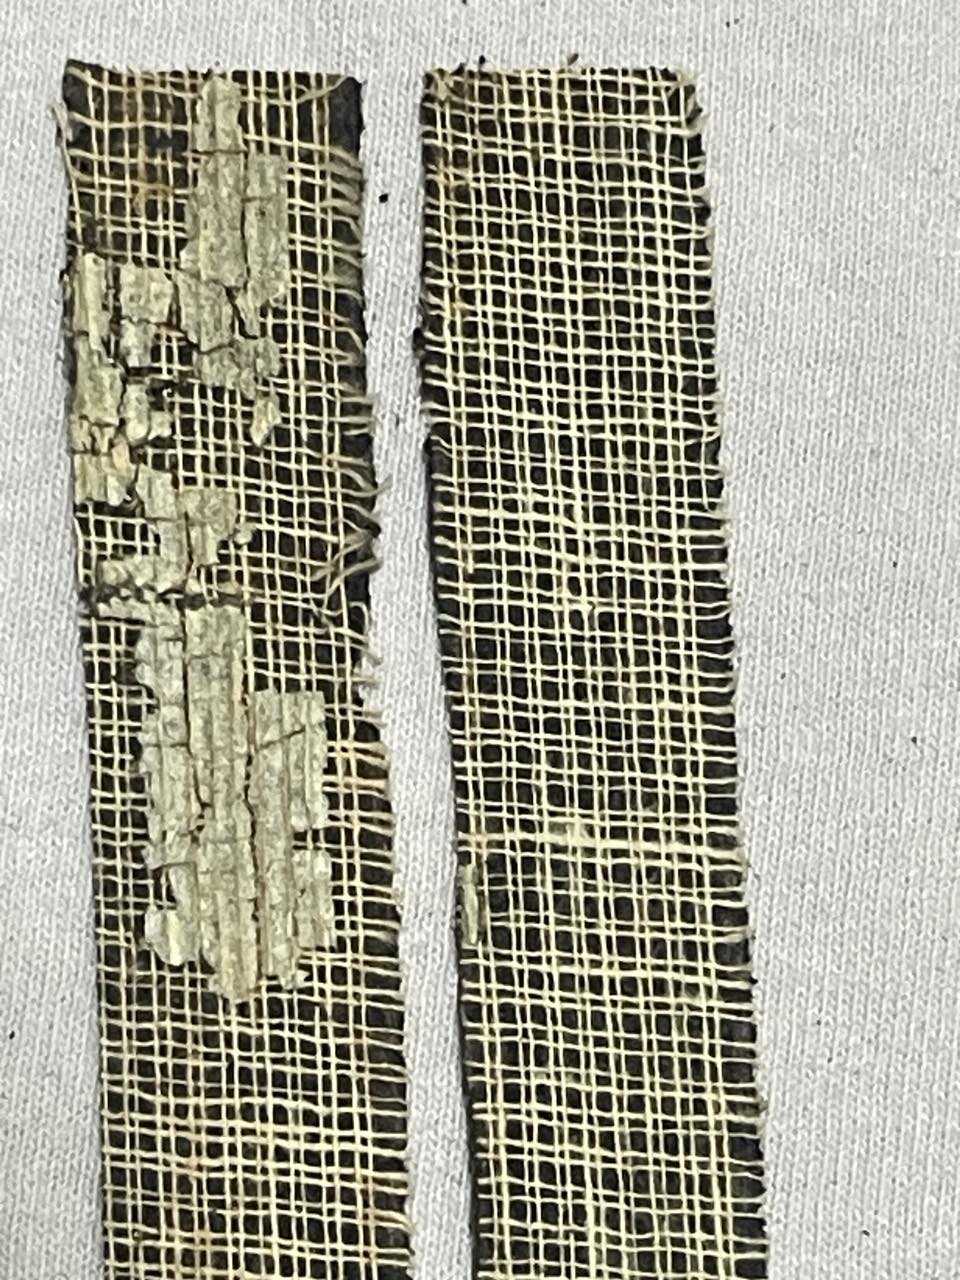
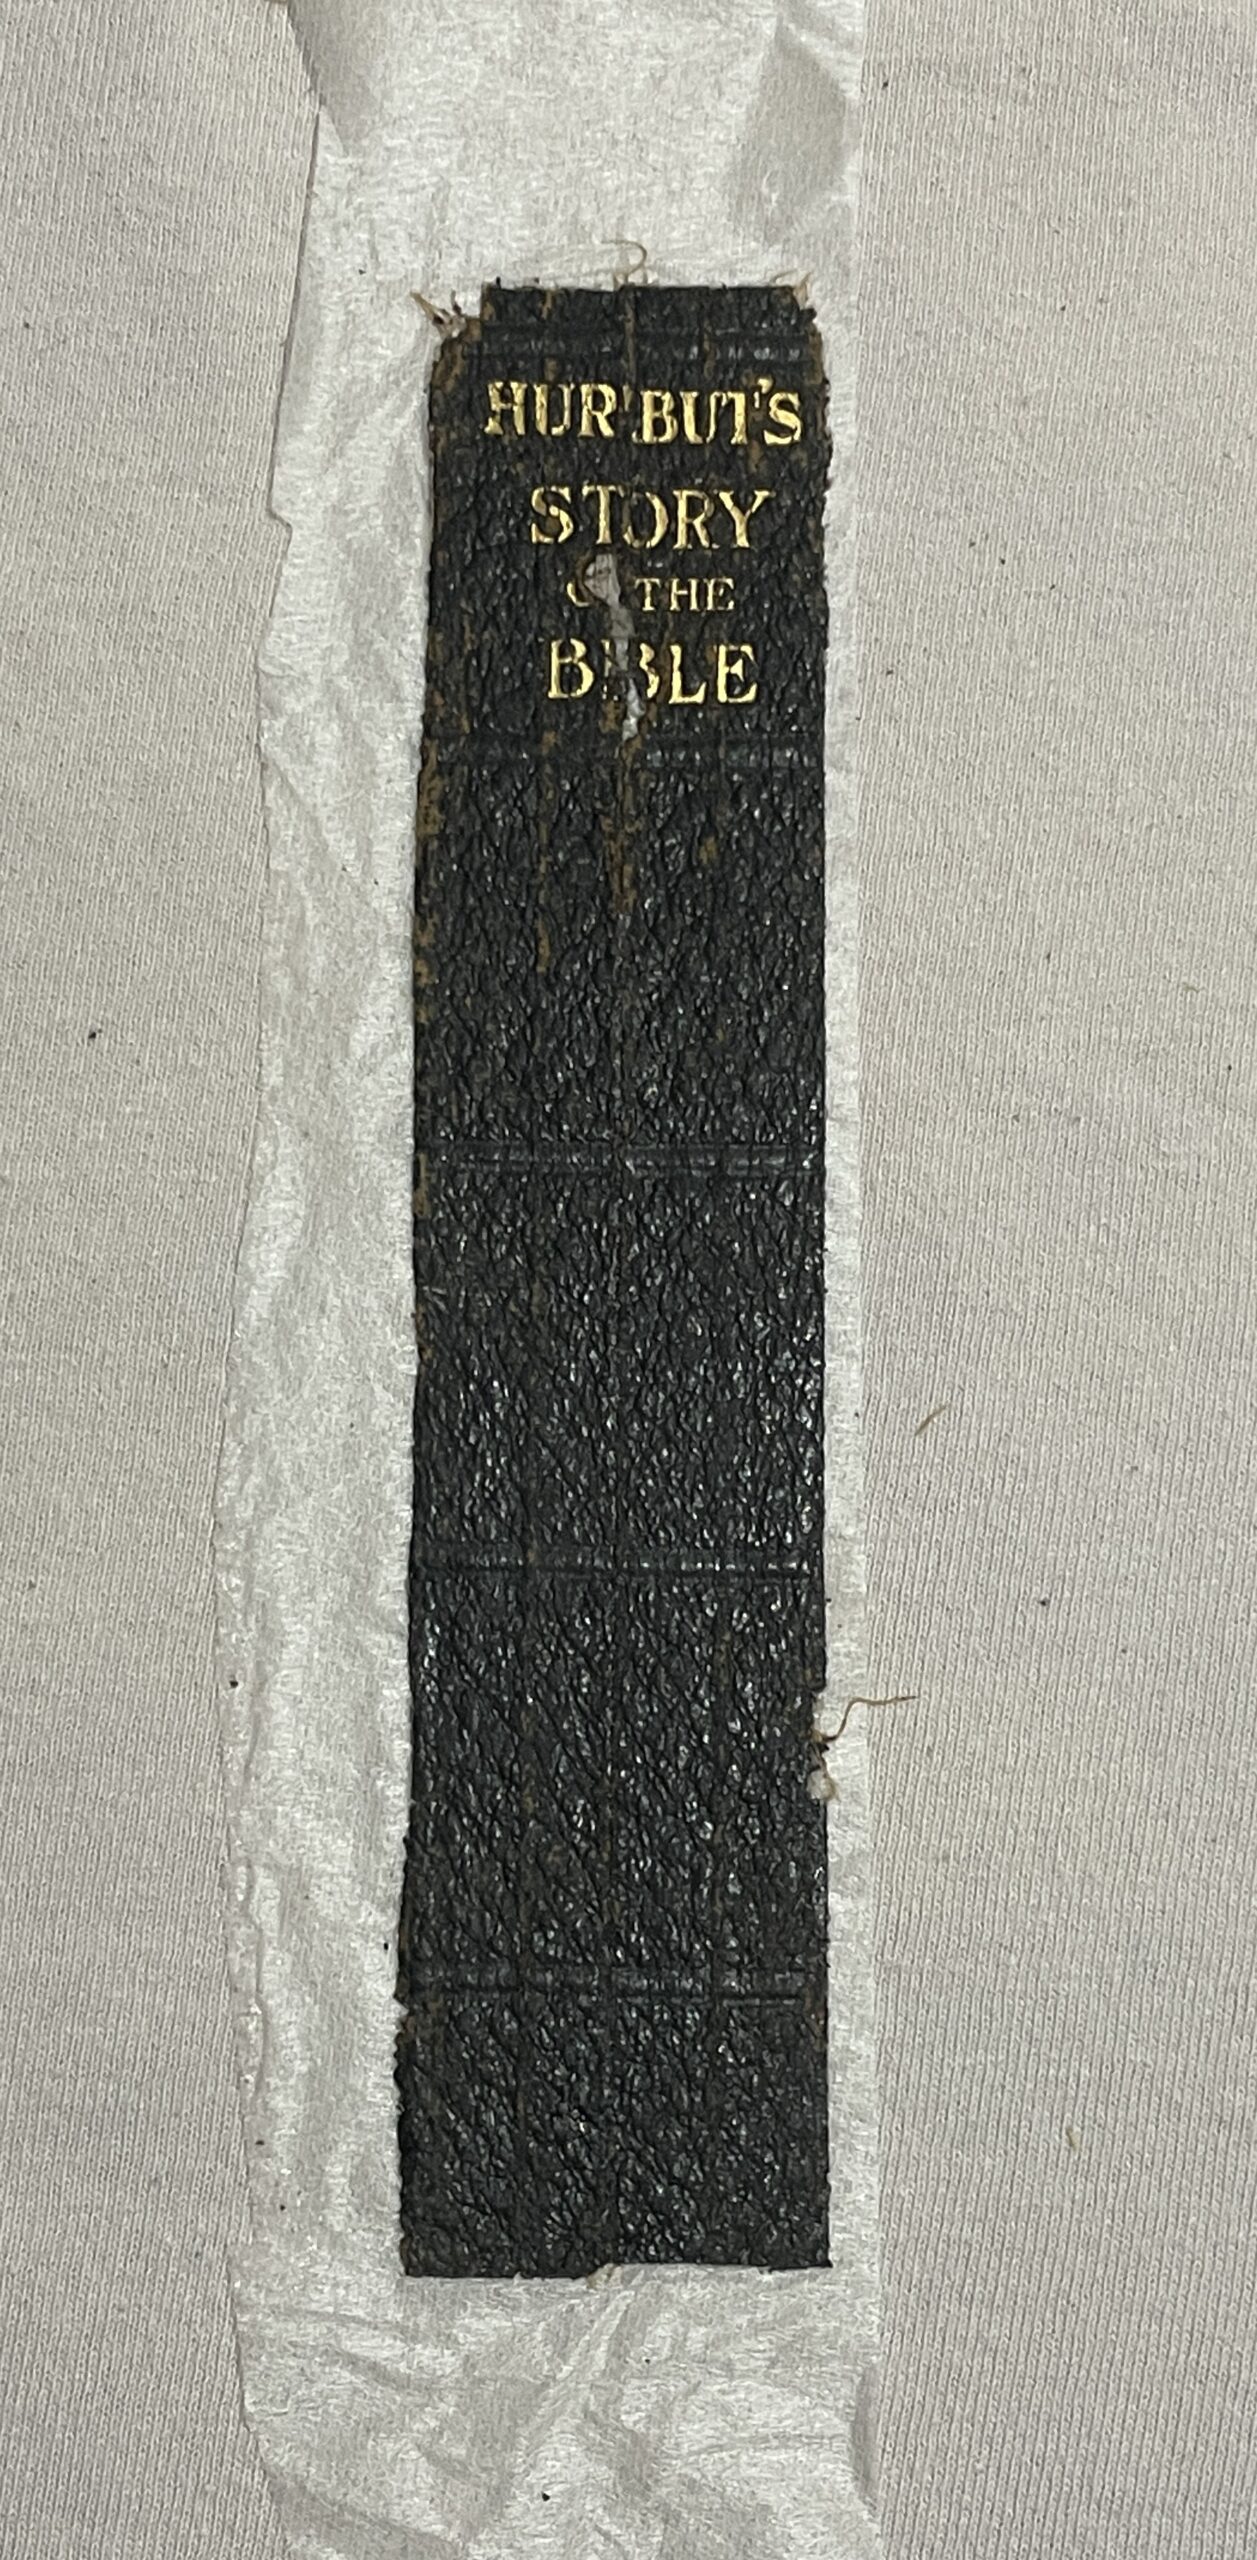
Then glue them back together, using some mending tissue for a base on the back side.
I did not really like how it turned out because some of the lettering was lost entirely, so I did not use this, after all.
![Old spine, has been glued back together, but does not look great, because the gold lettering is messed up.](https://bigthicketbooks.com/wp-content/uploads/2024/11/6-scaled.jpg)
Next up, the spine, same kind of yuck on that. Interesting to see that the bottom half of the book had a whole lot more of it than the top. I wonder why? (I don’t know.)
![The old spine, after the cover was taken off. It has a lot of old dried up glue on it, and looks yucky.](https://bigthicketbooks.com/wp-content/uploads/2024/11/2.8.jpg)
![Another picture of the old spine with dried up glue on it.](https://bigthicketbooks.com/wp-content/uploads/2024/11/2.9.jpg)
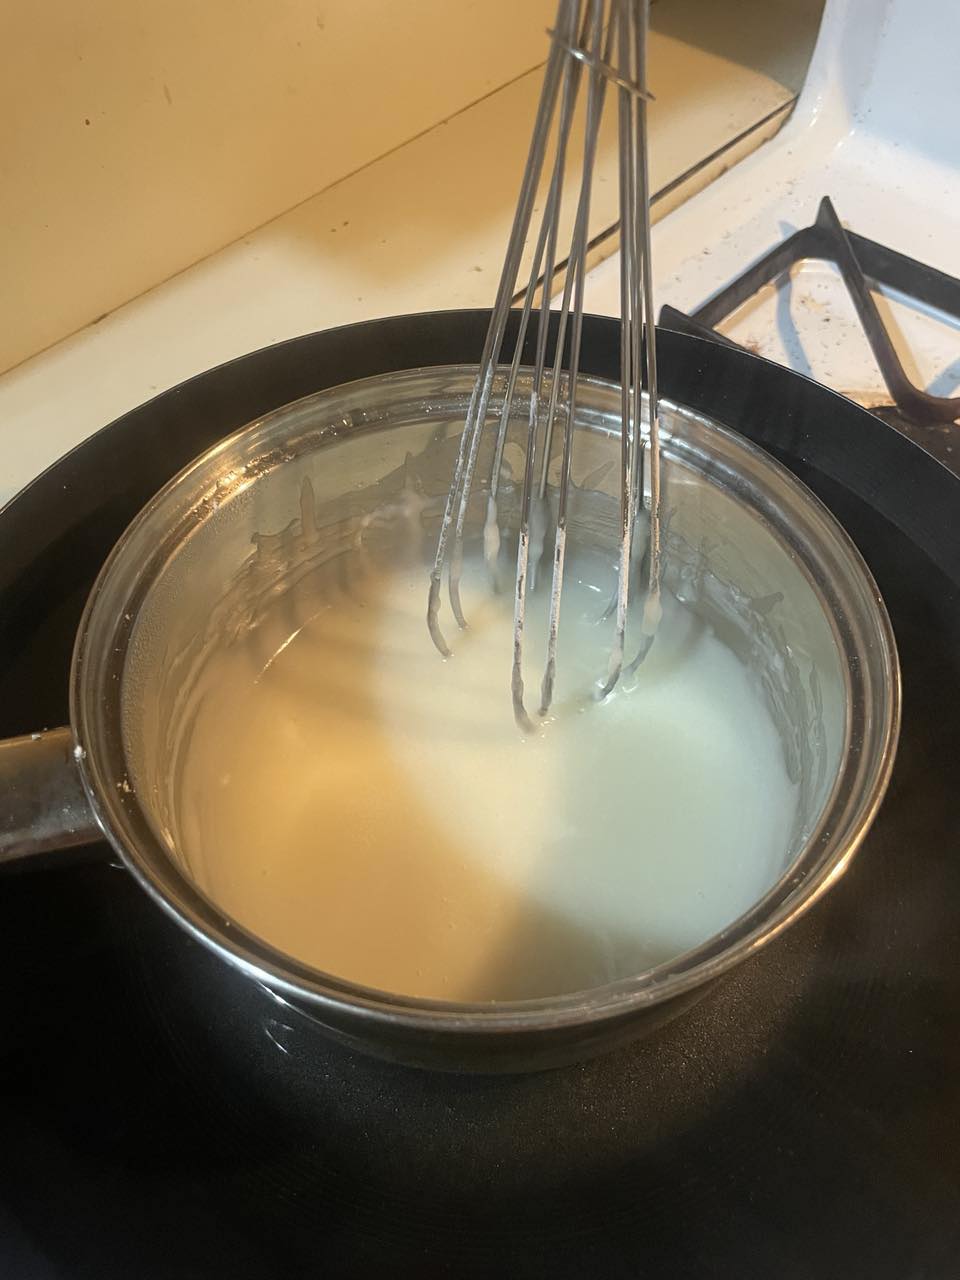
Made a batch of wheat paste to soften the old glue.
![Small saucepan on the stove, with a whisk in it. There's a white mixture in the pan, and this is the wheat paste being cooked.](https://bigthicketbooks.com/wp-content/uploads/2024/11/7-making-wheat-paste.jpg)
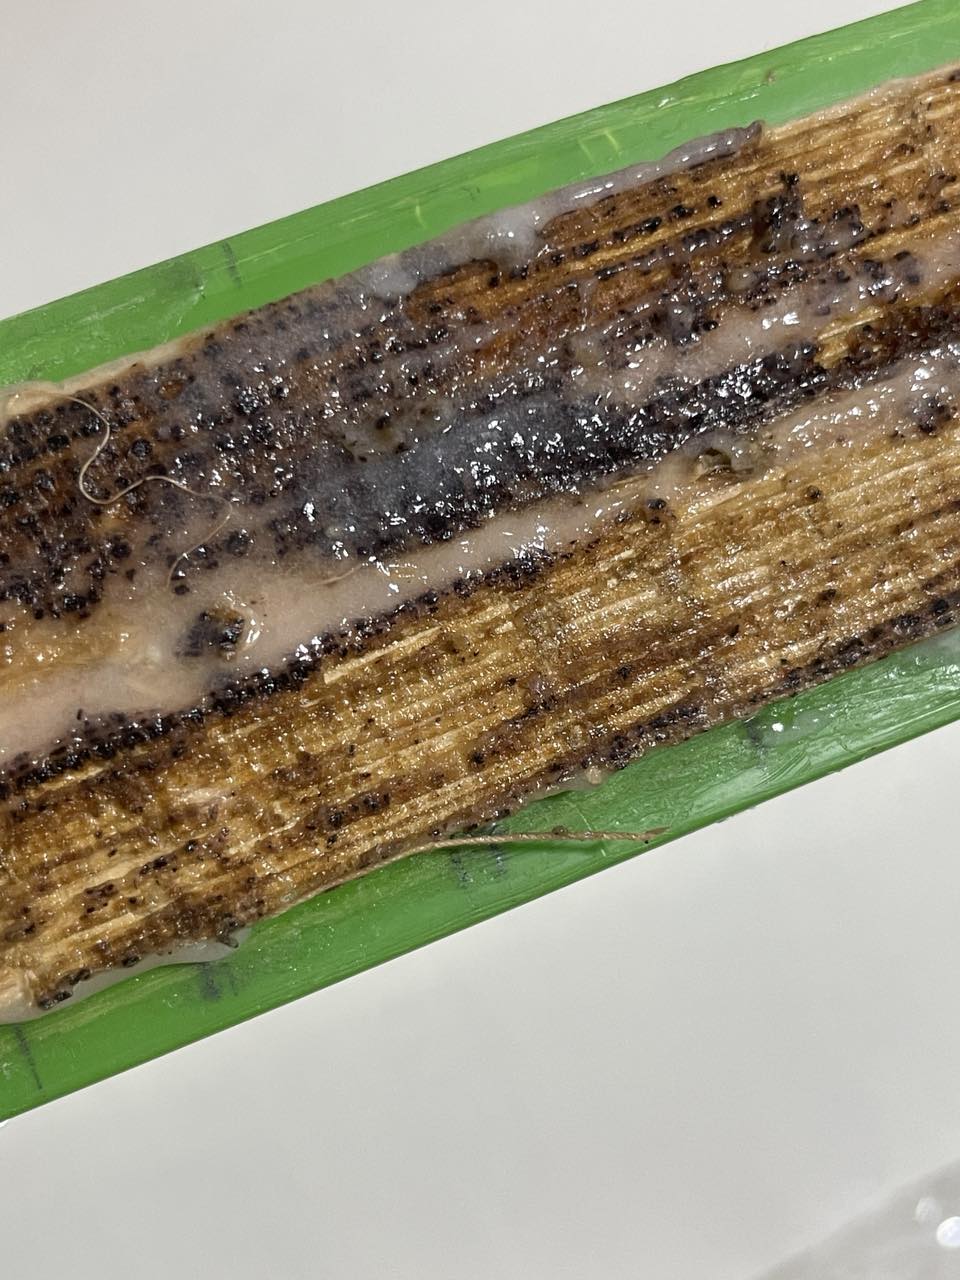
After it sits on the old glue for a few minutes, it comes off surprisingly easily, and this step in the project is not nearly as gross as this picture makes it look, thankfully.
![The old spine, now covered with the wheat paste goop, which looks gross, like snot.](https://bigthicketbooks.com/wp-content/uploads/2024/11/9-on-the-spine.jpg)
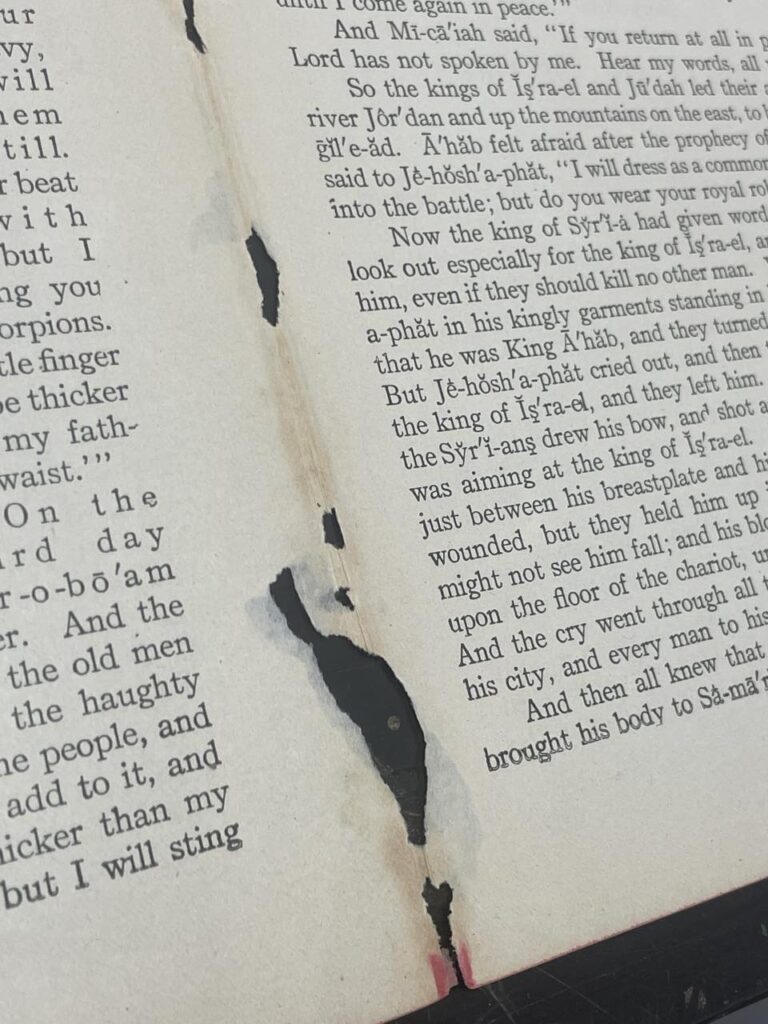
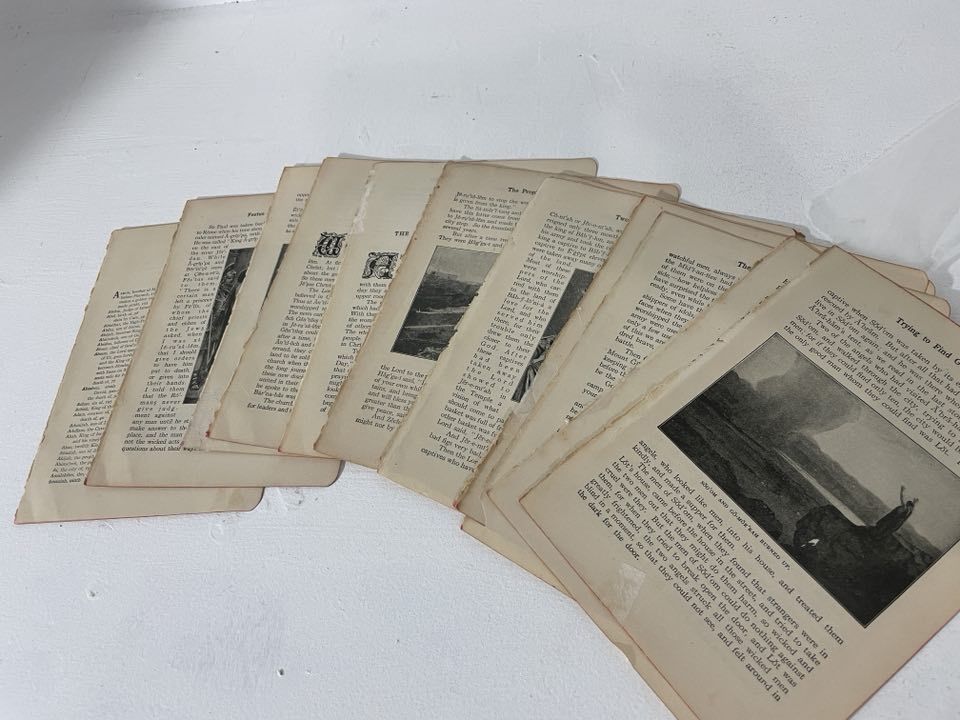
Several pages needed to be repaired with mending tissue.
Most had only a small tear but a few needed more attention.
![Close up of a single page that has a big hole right alone the middle of the page. This will be repaired later with mending tissue.](https://bigthicketbooks.com/wp-content/uploads/2024/12/torn-page-1-768x1024.jpg)
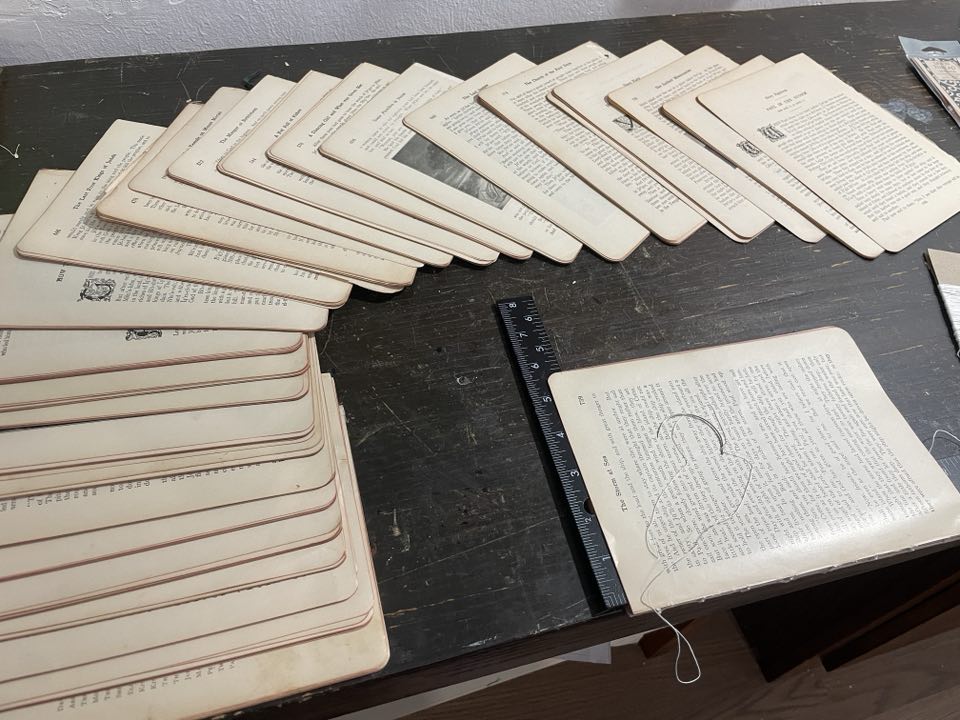
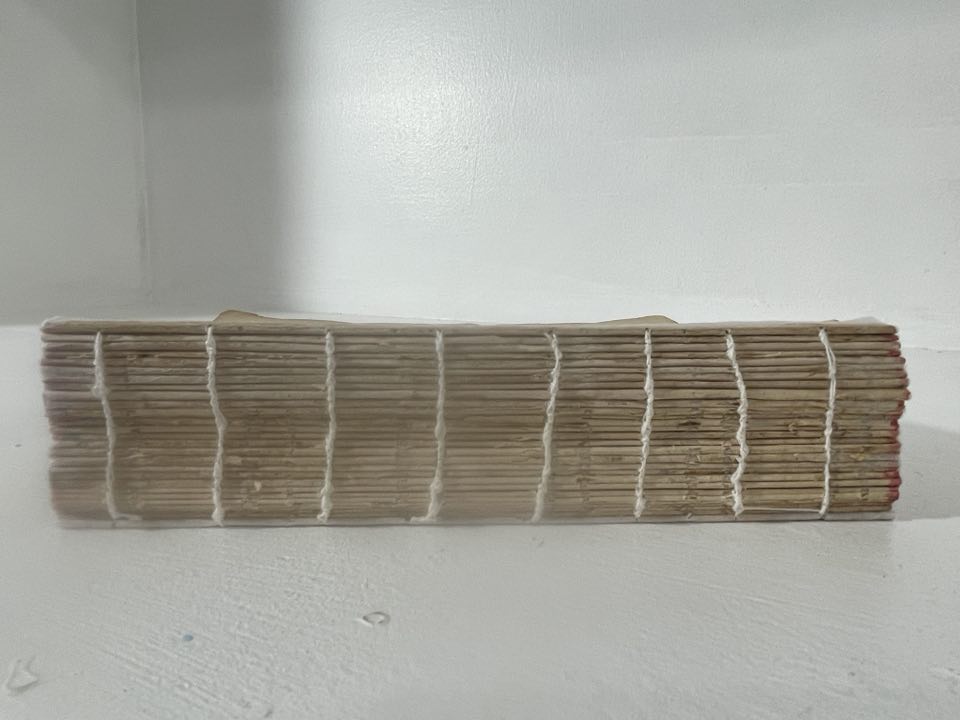
After all are repaired, then stacked them up in order for re-sewing.
![Stack of loose pages that are ready to be sewn back together.](https://bigthicketbooks.com/wp-content/uploads/2024/11/10-stack-of-signatures.jpg)
Getting organized before sewing the signatures back together . . .
![All the loose pages in their signatures, laid out together on the desk, in order and ready to sew back together.](https://bigthicketbooks.com/wp-content/uploads/2024/12/11-waiting-to-sew.jpg)
Still sewing . . .
![More loose signatures in the background, with a close up in the foreground, that shows the first few signatures sewn back together.](https://bigthicketbooks.com/wp-content/uploads/2024/12/12-started-sewing.jpg)
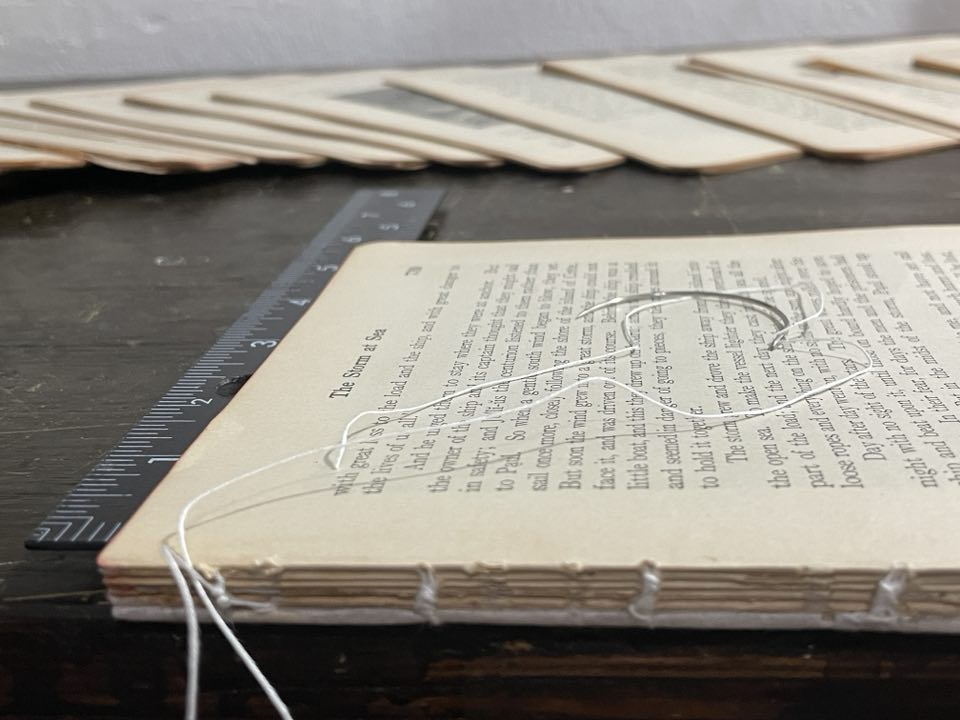
Completed the first part of sewing (about 25 signatures) . . . but . . . .
![Stack of all the signatures sewn back together. There are approximately 25 signatures and the whole stack is approximately 2 inches tall.](https://bigthicketbooks.com/wp-content/uploads/2024/12/13-finished-sewing.jpg)
There are still several pages that are loose and not part of any signatures. These are added individually, this is called “tipping in” for those pages.
![About 15 individual loose pages laid out on the desk. These will be glued in individually later.](https://bigthicketbooks.com/wp-content/uploads/2024/12/14-waiting-to-tip-in.jpg)
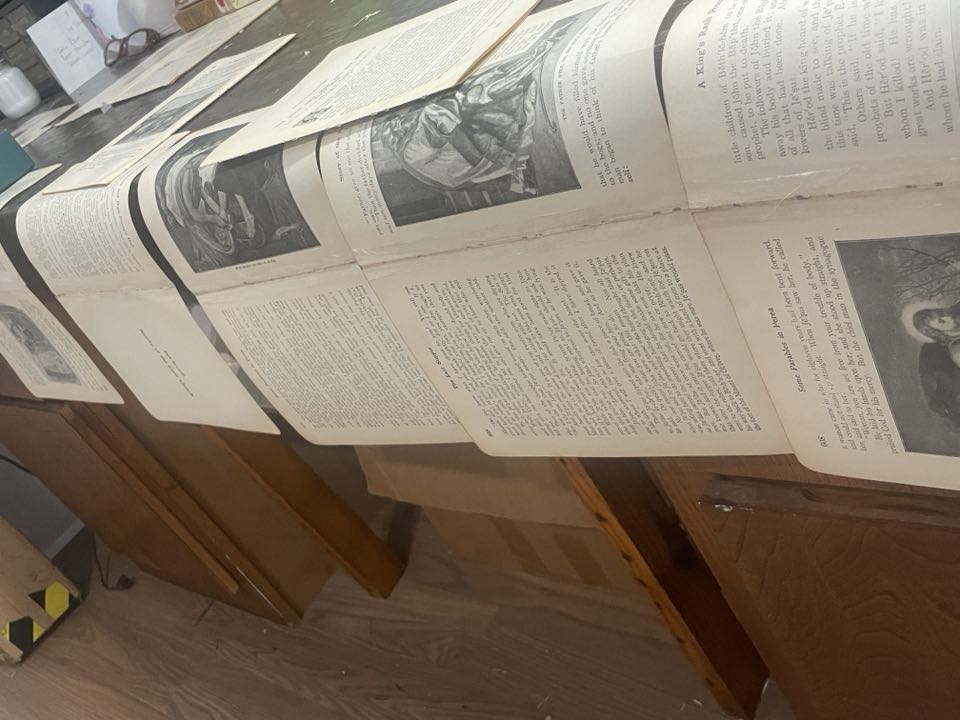
Here are all the repaired pages during the first part of drying. Later, they are laid flat to finish drying.
![Several pages hanging off the side of the workshop desk while they are drying.](https://bigthicketbooks.com/wp-content/uploads/2024/12/pages-drying.jpg)
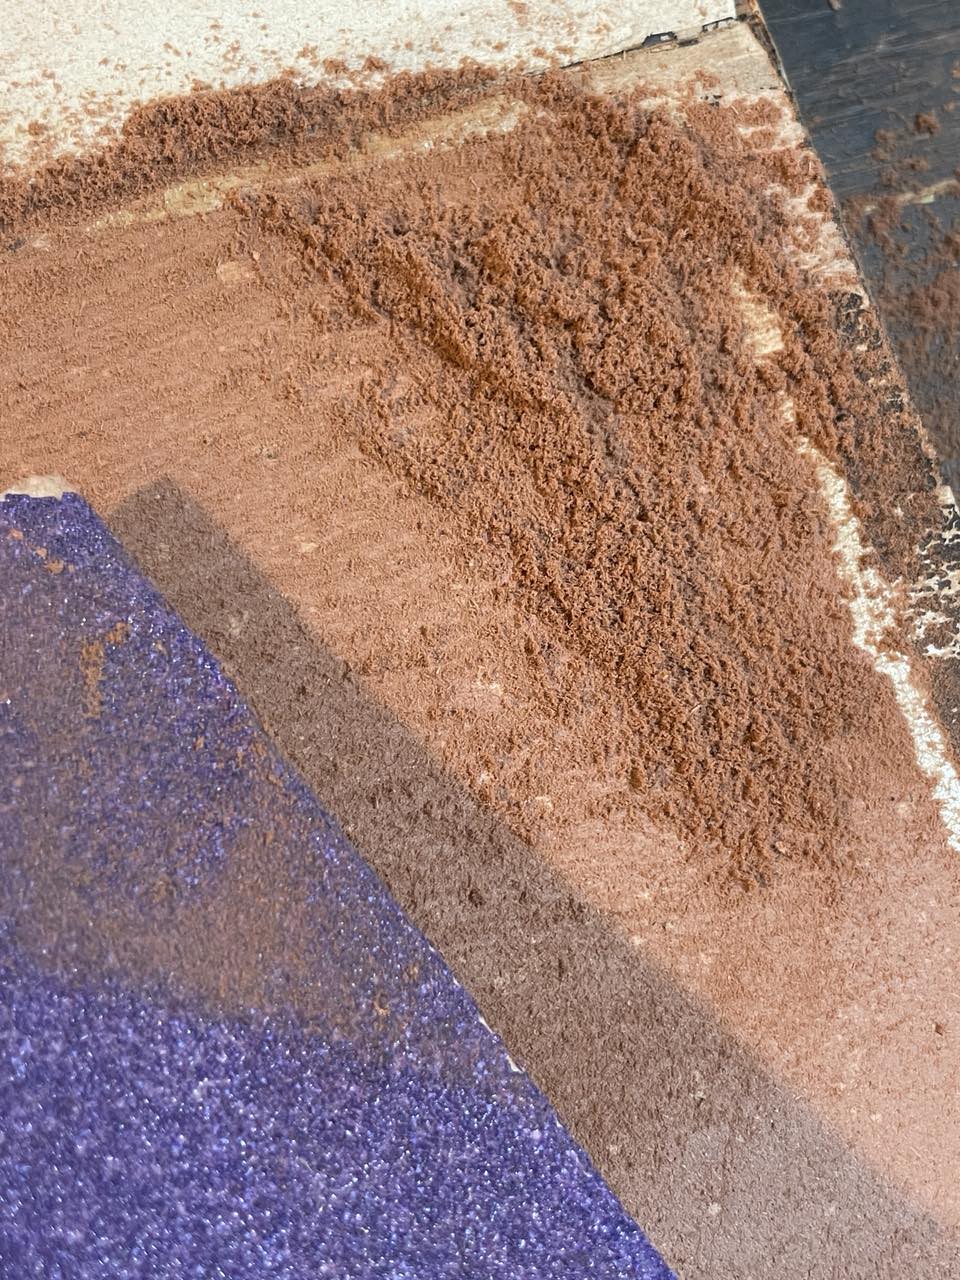
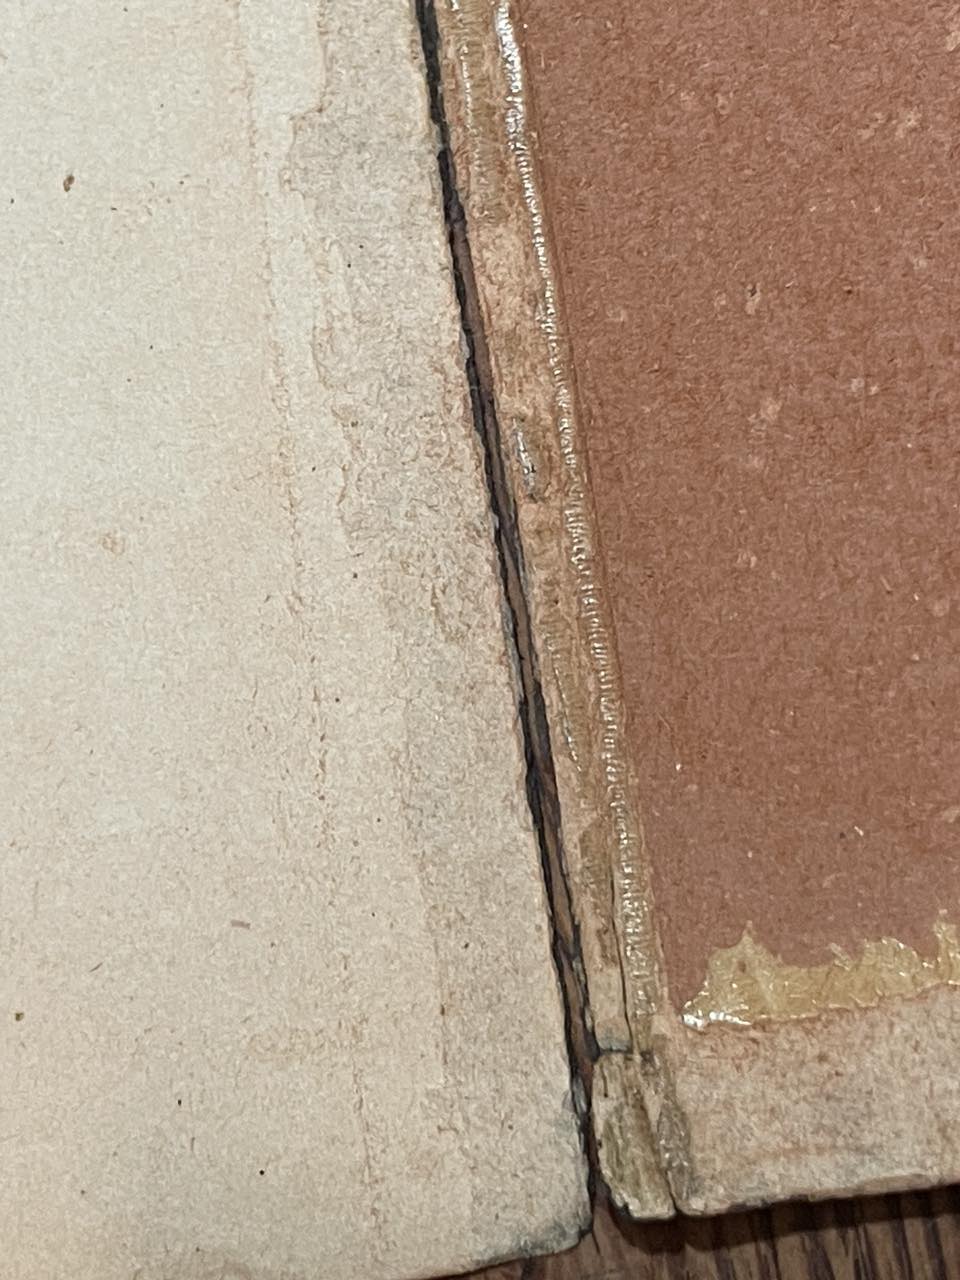
I wanted to re-use the original endpapers so that the book would look the same as much as possible, but they had leftover old covering on them.
![The original end papers laying open on the desk. The left side shows brown and the right side shows a light tan color. The black is on the other side.](https://bigthicketbooks.com/wp-content/uploads/2024/12/16-inside-of-old-endpapers.jpg)
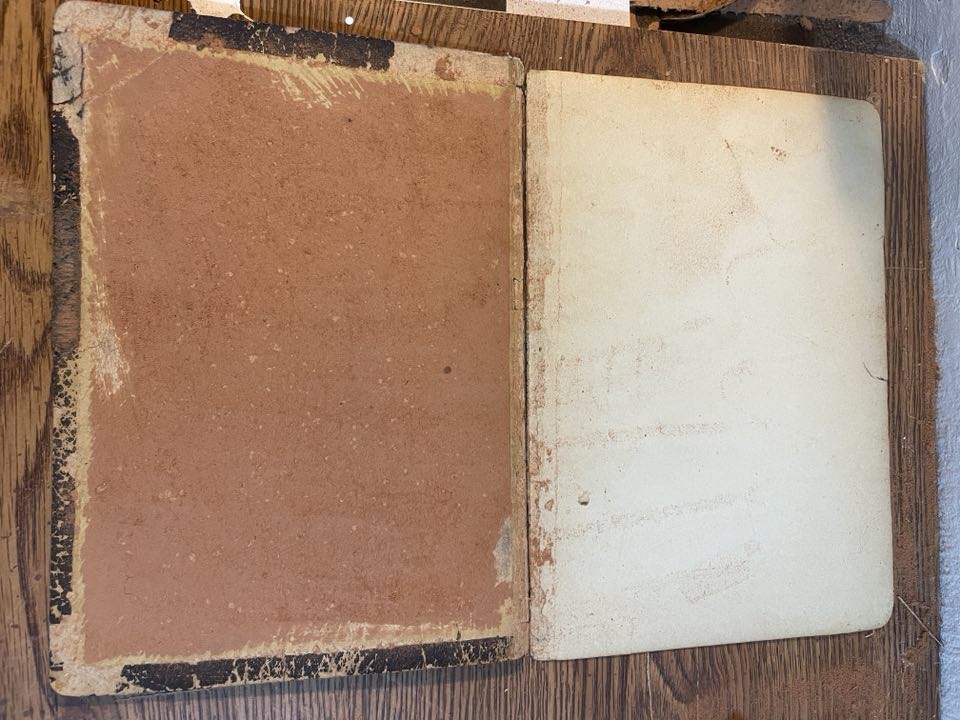
I sanded that off as much as possible.
![Picture of something like sawdust that piled up as I sanded off the darker brown side of the end papers.](https://bigthicketbooks.com/wp-content/uploads/2024/12/17-sanded-off-a-lot-of-that-brown-768x1024.jpg)
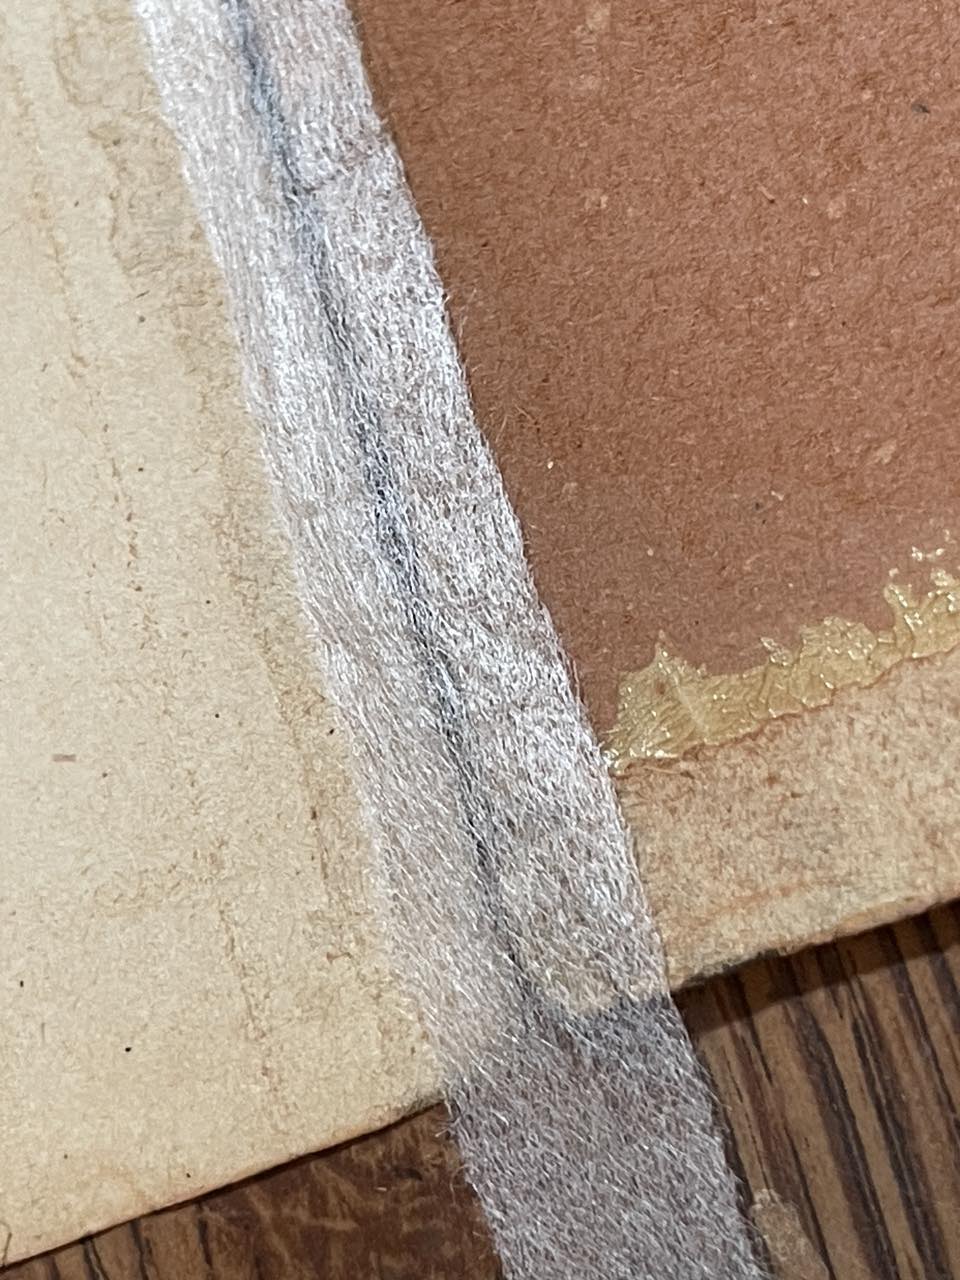
Then the two sides came apart, as I expected they would, because it was so fragile.
![Extreme close up of the two sides of the end papers. They have come apart separate from each other and will need to be repaired.](https://bigthicketbooks.com/wp-content/uploads/2024/12/18-two-sides-came-apart-768x1024.jpg)
Repaired that with another bit of mending tissue.
![Extreme close up of the mending tissue that is glued down to hold the two sides back together again.](https://bigthicketbooks.com/wp-content/uploads/2024/12/19-added-strip-of-mending-paper-for-security-768x1024.jpg)
Preparing the new book cover, with plain black bookcloth.
![new book cover. The side showing is plain bookboard in three pieces for the two sides of the cover, and the spine down the middle. The bookcloth is black, but is on the facedown side.](https://bigthicketbooks.com/wp-content/uploads/2024/12/20-working-on-the-cover.jpg)
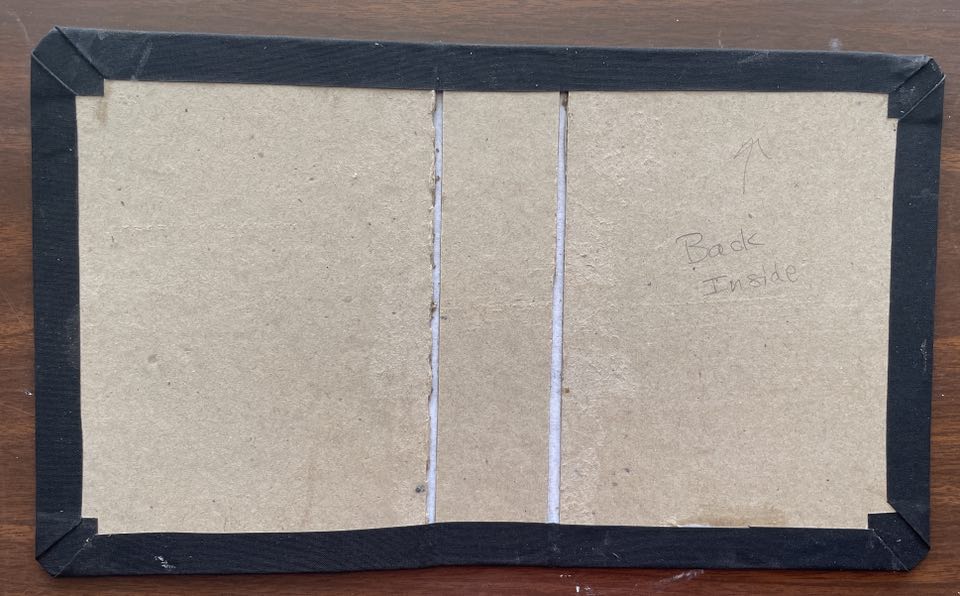
Glued the original covers right on top of the new bookcloth so the book will look and feel familiar. The contrast is not nearly as obvious in person as it looks in this photo.
![Front cover of newly repaired book. The old cover has been glued on to the front of the new cover and has the Hurlbut's image in the top, left corner of the front cover.](https://bigthicketbooks.com/wp-content/uploads/2024/12/25-final-768x1024.jpg)
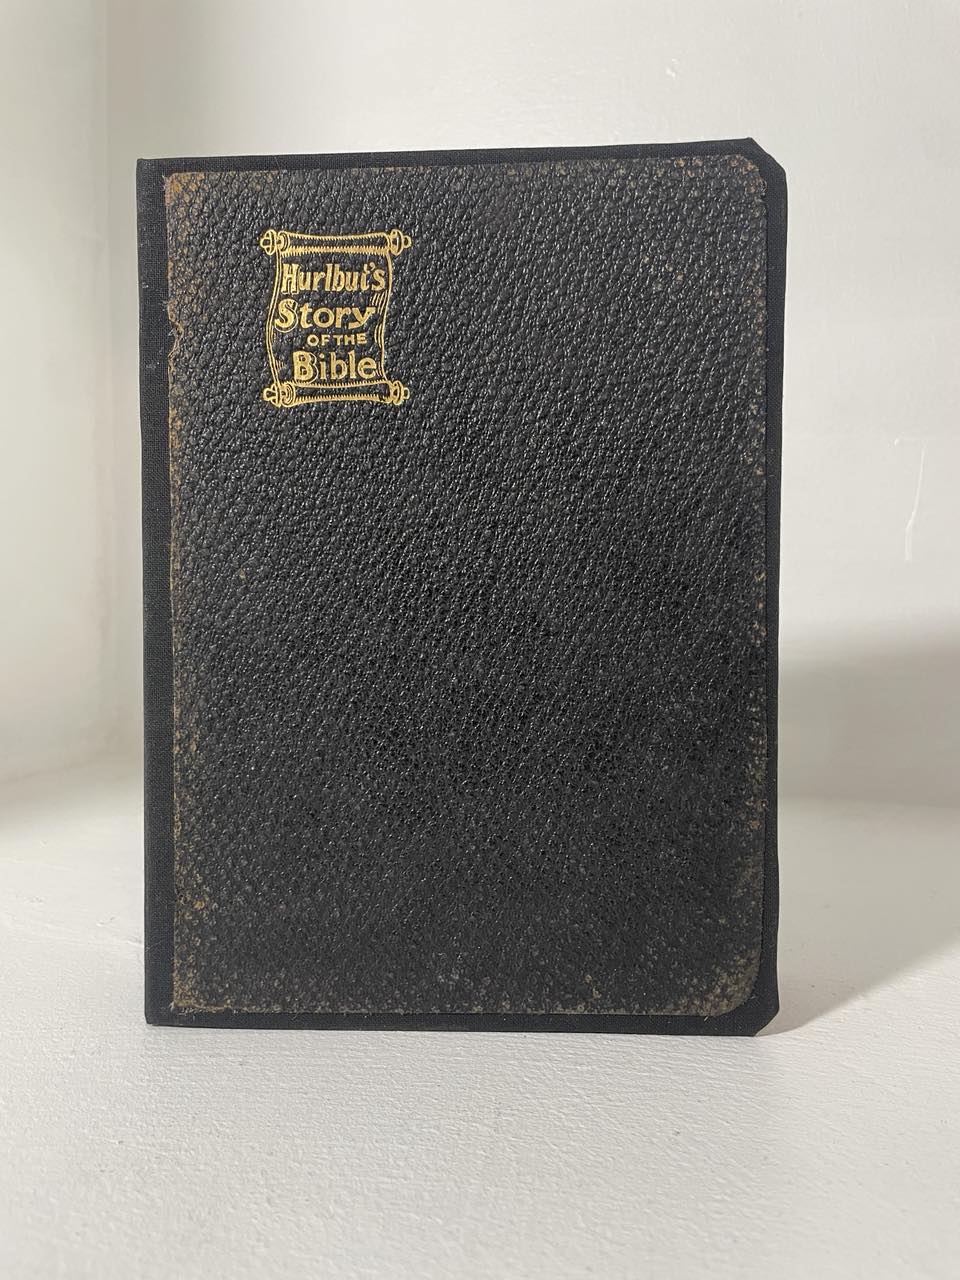
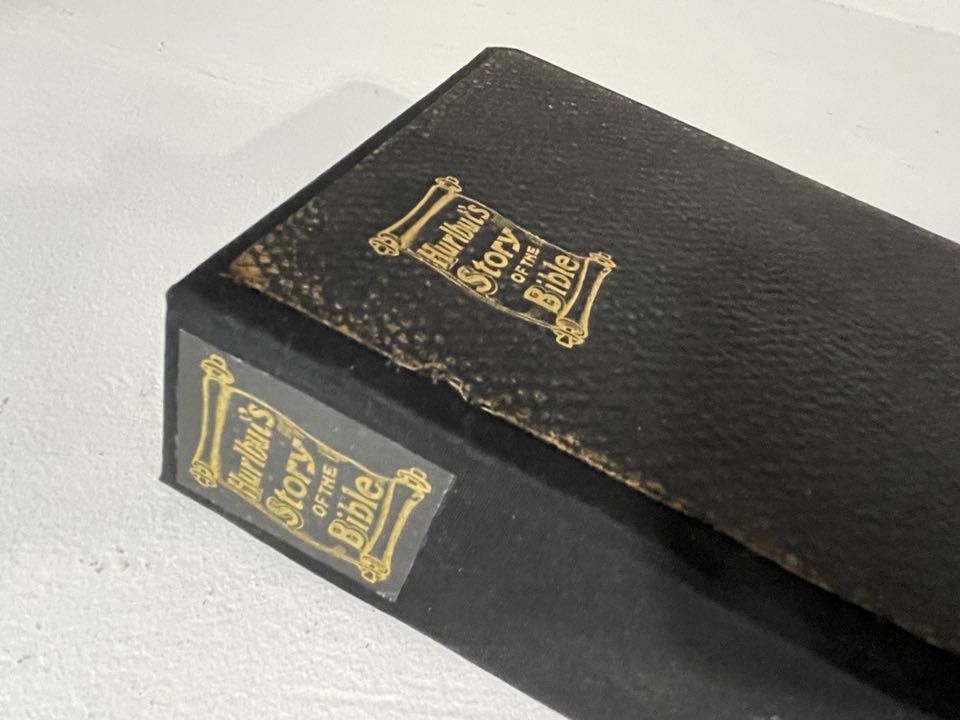
I did not use the repaired spine, after all, and instead, I copied the main image and glued it on. I kind of wish it was a little lower on the spine, to align more closely with the same image on the front cover, so that’s a lesson learned for next time. I didn’t want to risk messing up the bookcloth, though, so I left it like it is. This is another situation that is not nearly as obvious in person as it looks in the picture.
![An angled view of the front cover and spine together. The spine also has the Hurlbut's image on it.](https://bigthicketbooks.com/wp-content/uploads/2024/12/22-final.jpg)
All done!
![Picture from inside pages of the story Bible, showing baby Jesus in the manger.](https://bigthicketbooks.com/wp-content/uploads/2024/12/40-last-picture-baby-jesus-in-the-manger.jpg)
Merry Christmas, Mom!