
Sewing the pages back together!
Part 1 – Repairing individual pages
First, got organized with the several tools and supplies I would need . . .
Linen thread – my first time to use official real book binding thread. (I have been using embroidery floss for the smaller artsy books because I have a lot of that already.)
I had already learned the joys of the curved needle from previous projects.
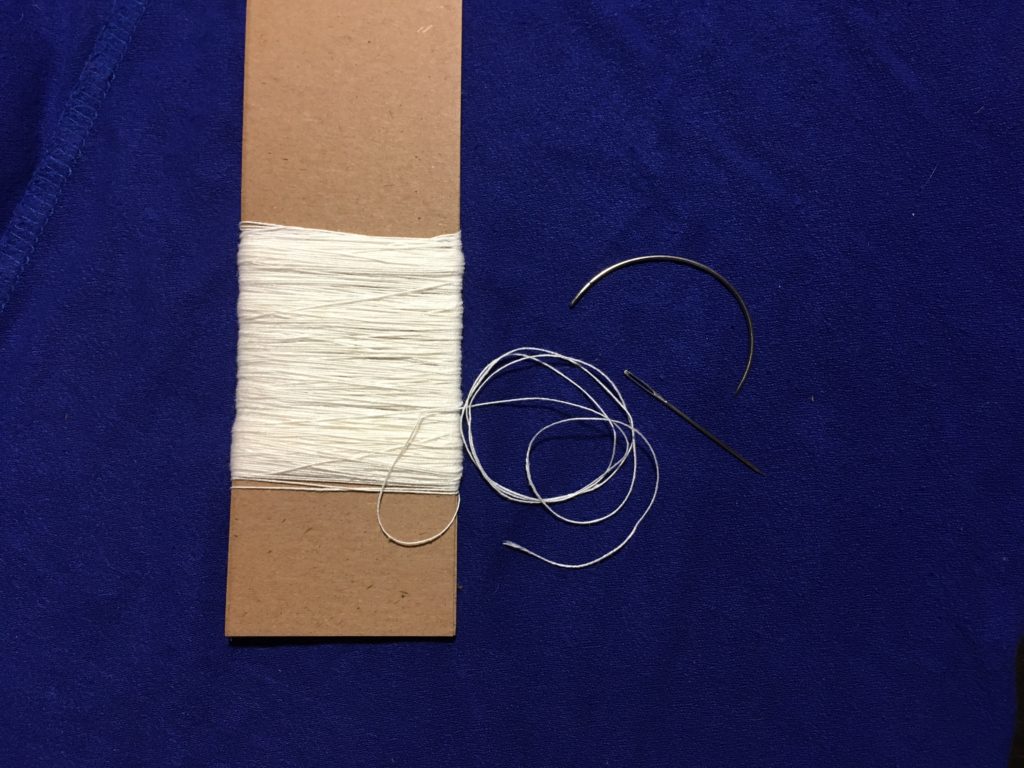
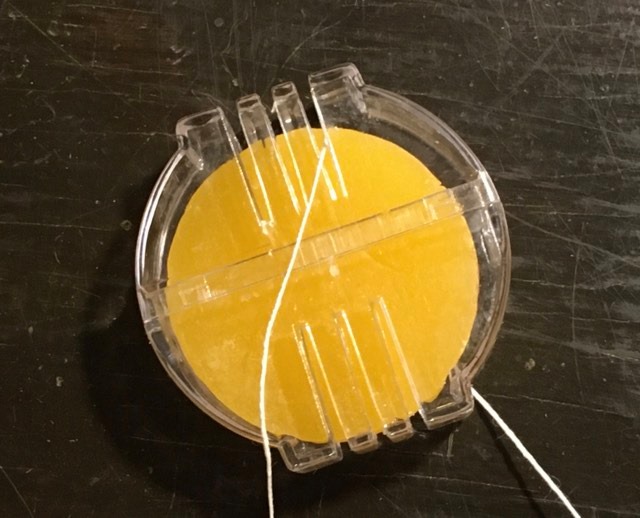
Beeswax for the coating the thread so it is less likely to tangle. I was curious to see what all the hype was about . . . would it really make any difference? Indeed it does, in a dramatic way! Definitely worth it!
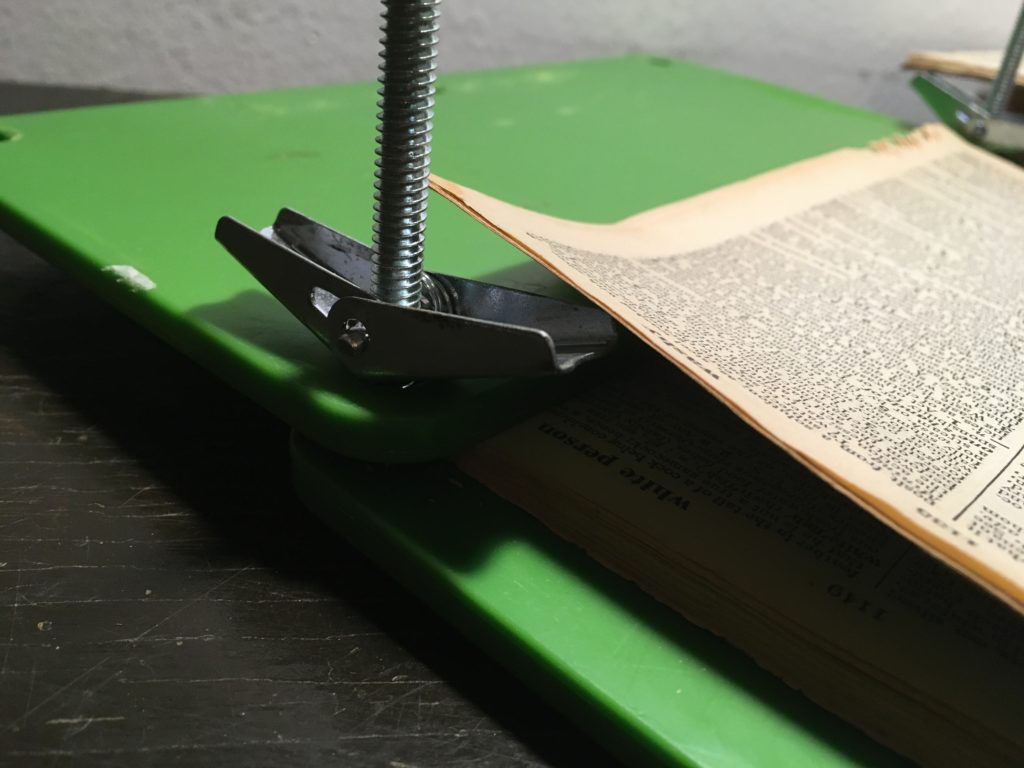
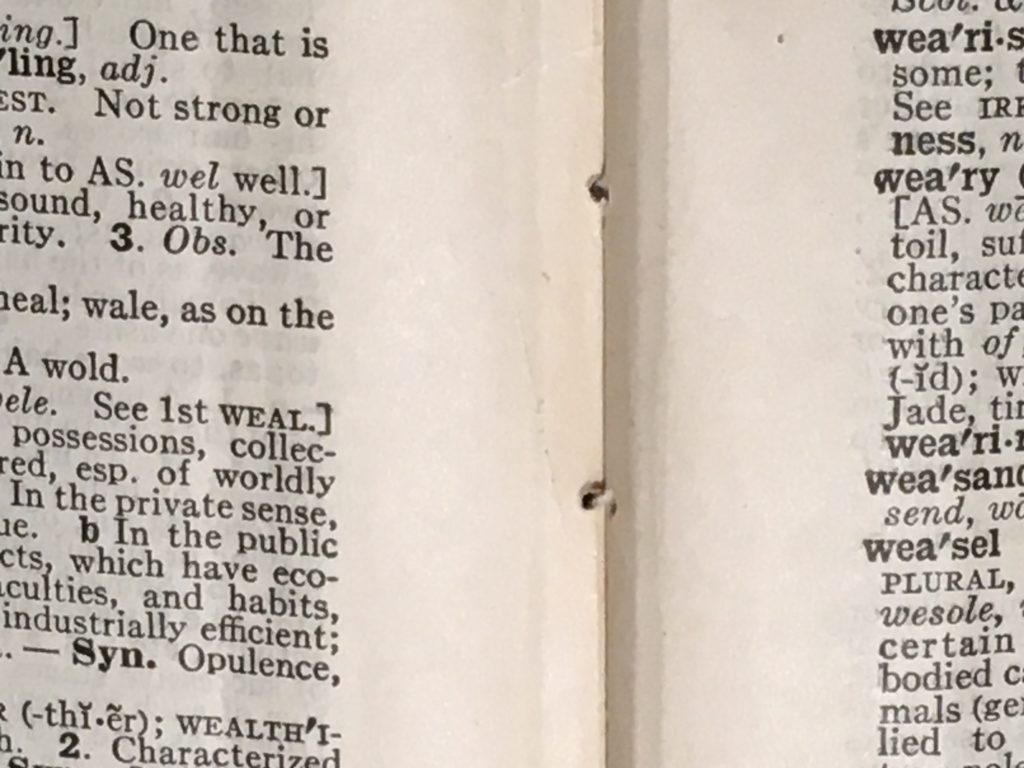
Ruler for spacing the holes and awl for making them.
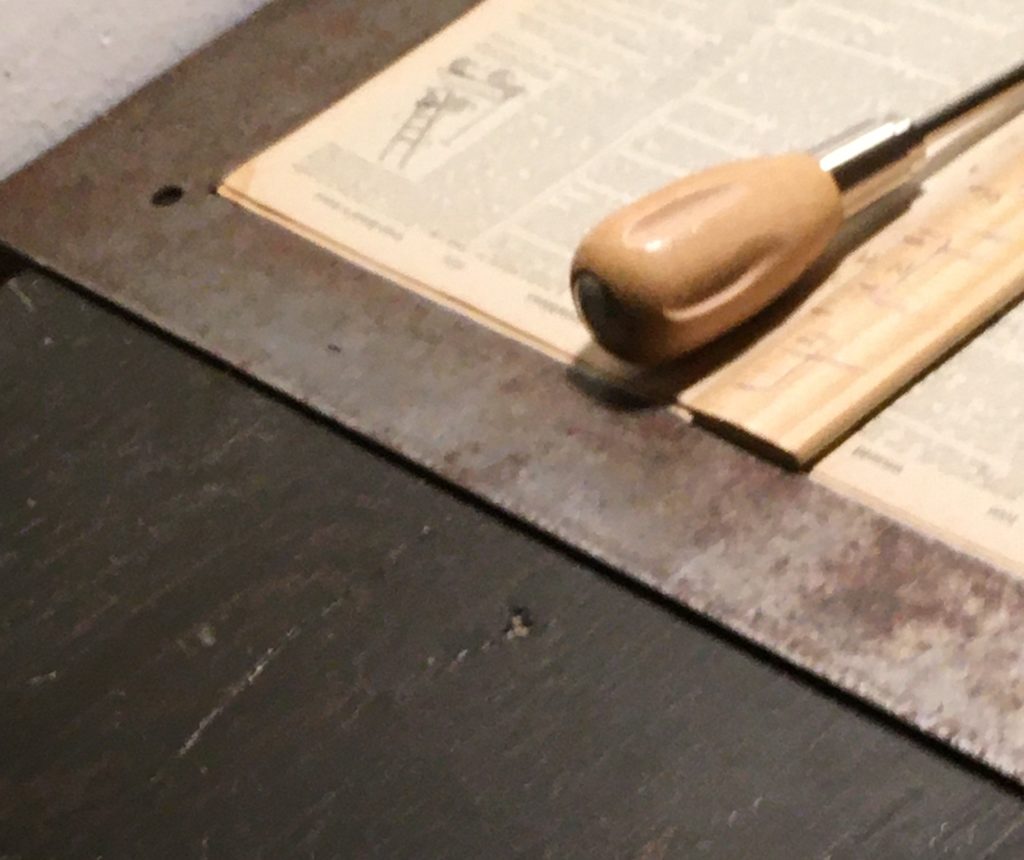

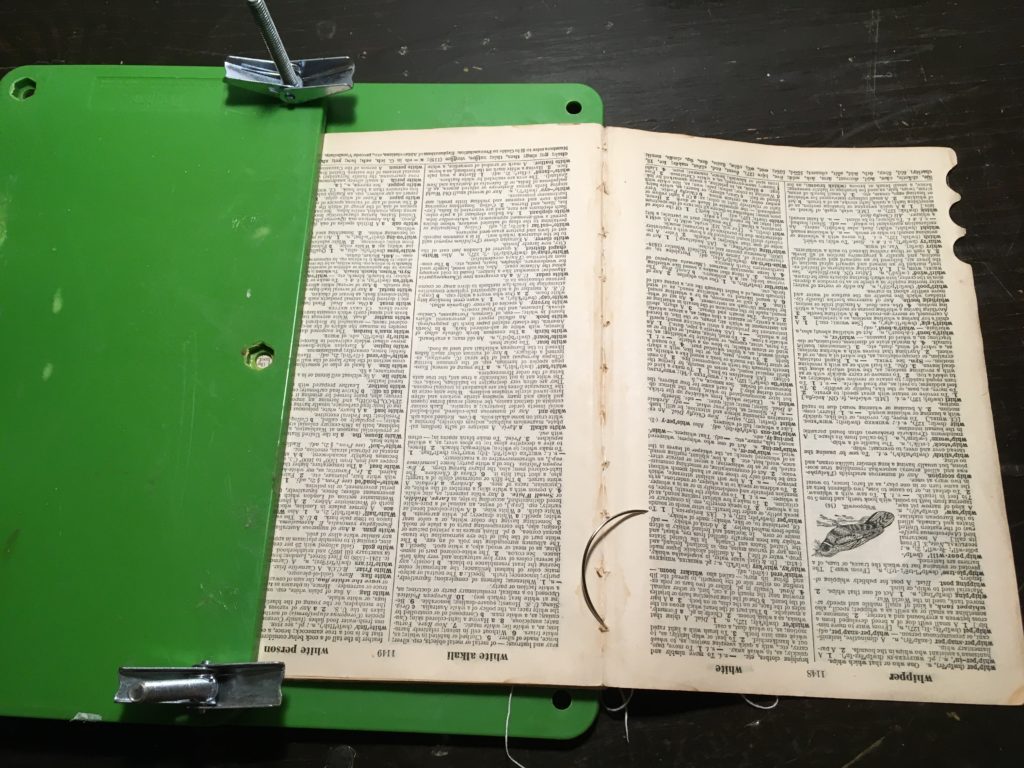
I used my trusty flower press again in this step to hold the pages securely and it worked out okay.
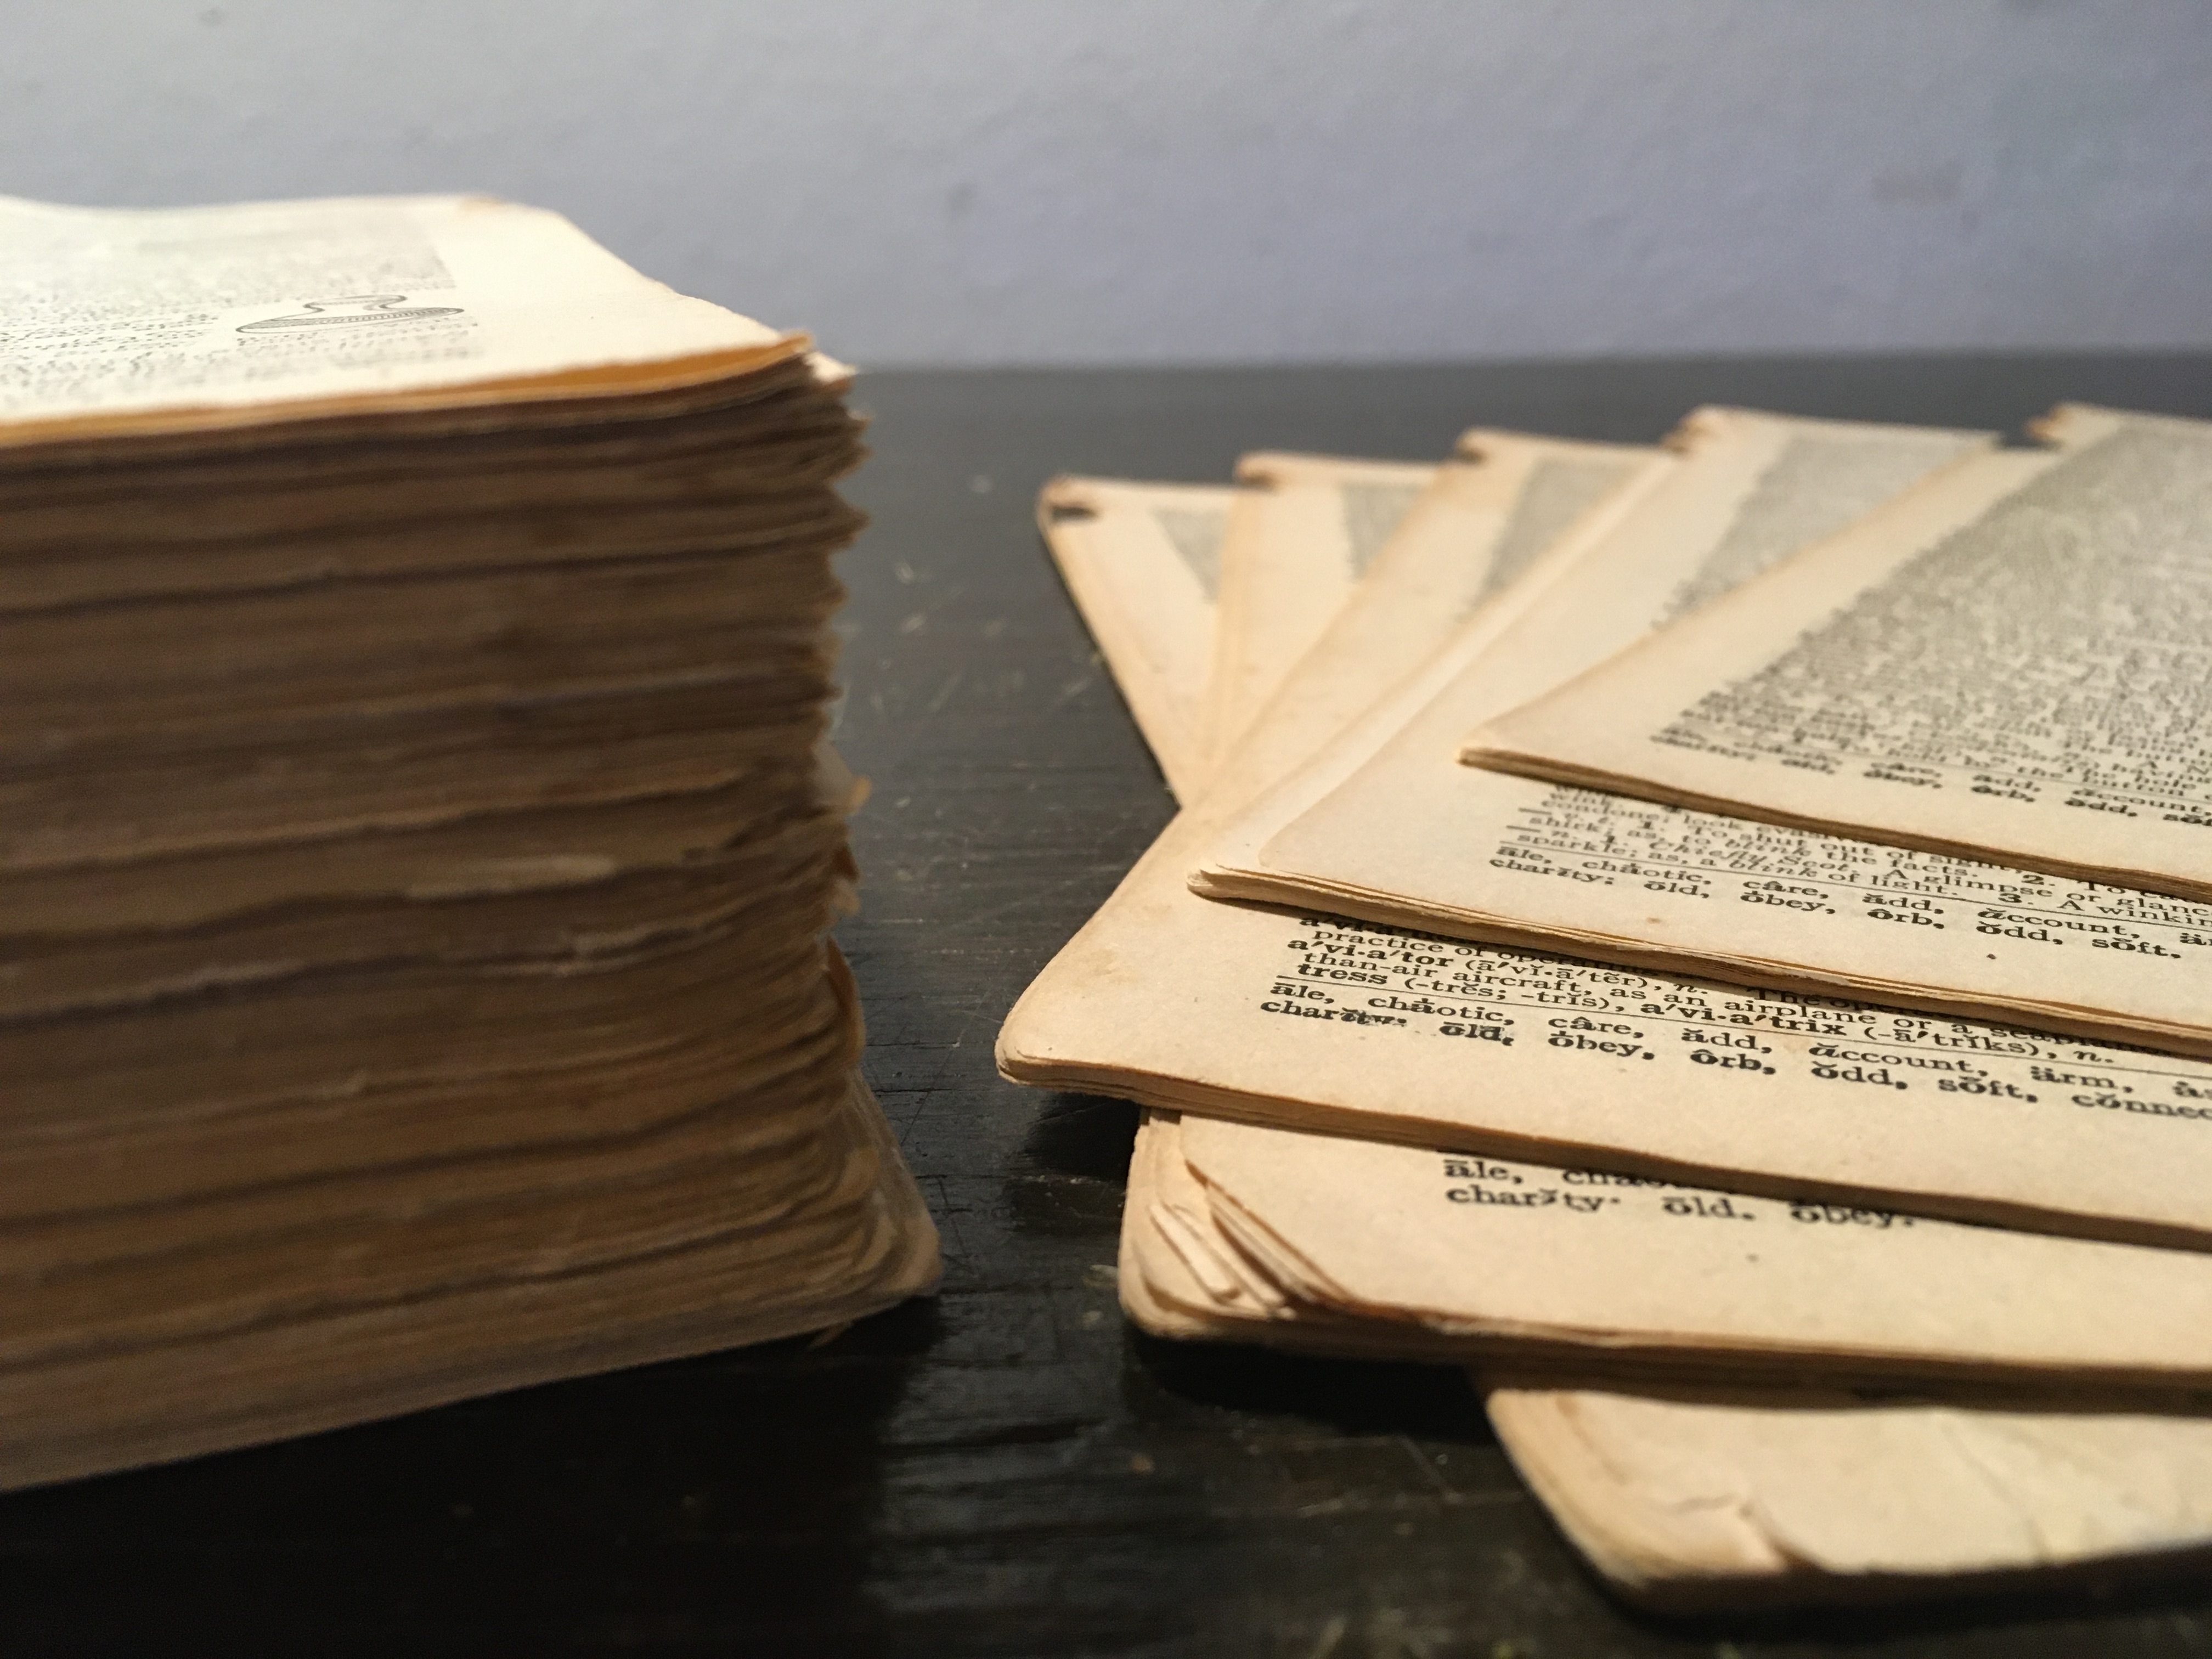
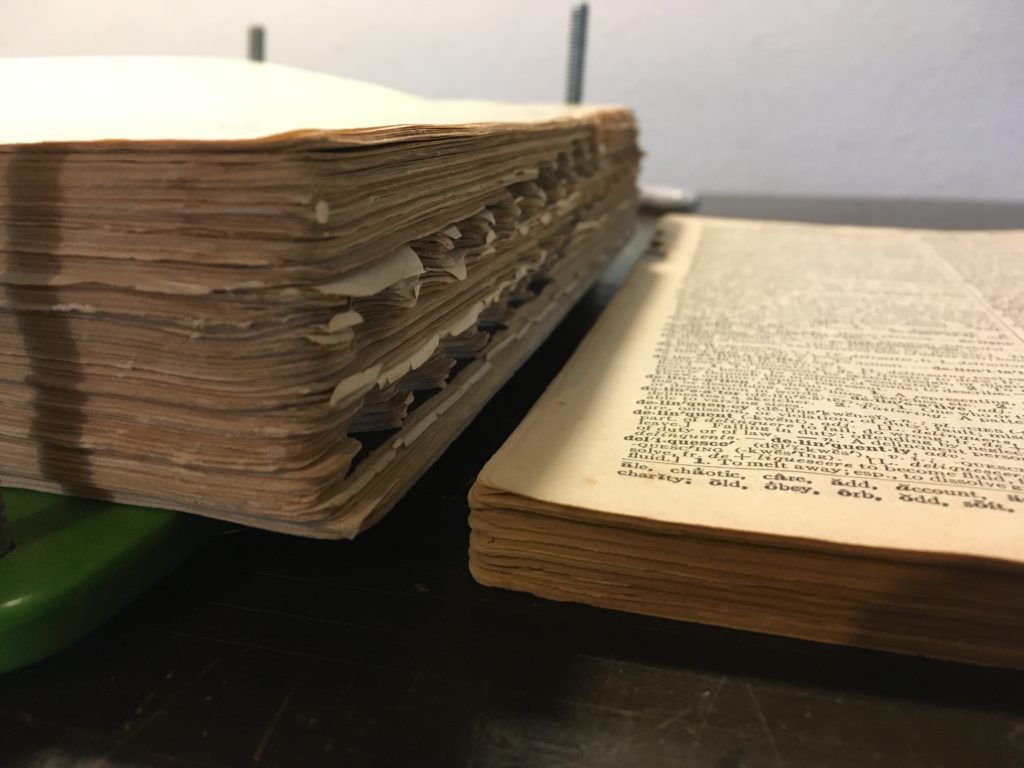
There are a lot to do!
And, we’re off!

I was a little surprised by how well the brand new thread matched the old pages – perfect!
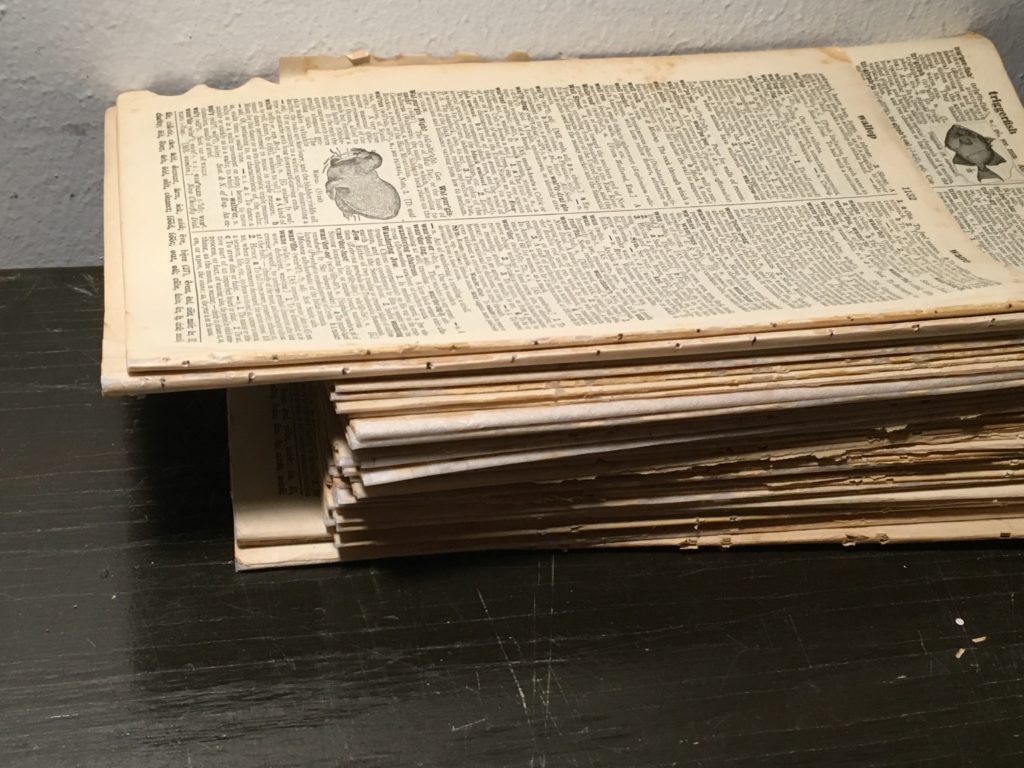
Still quite a few to go . . . . . .
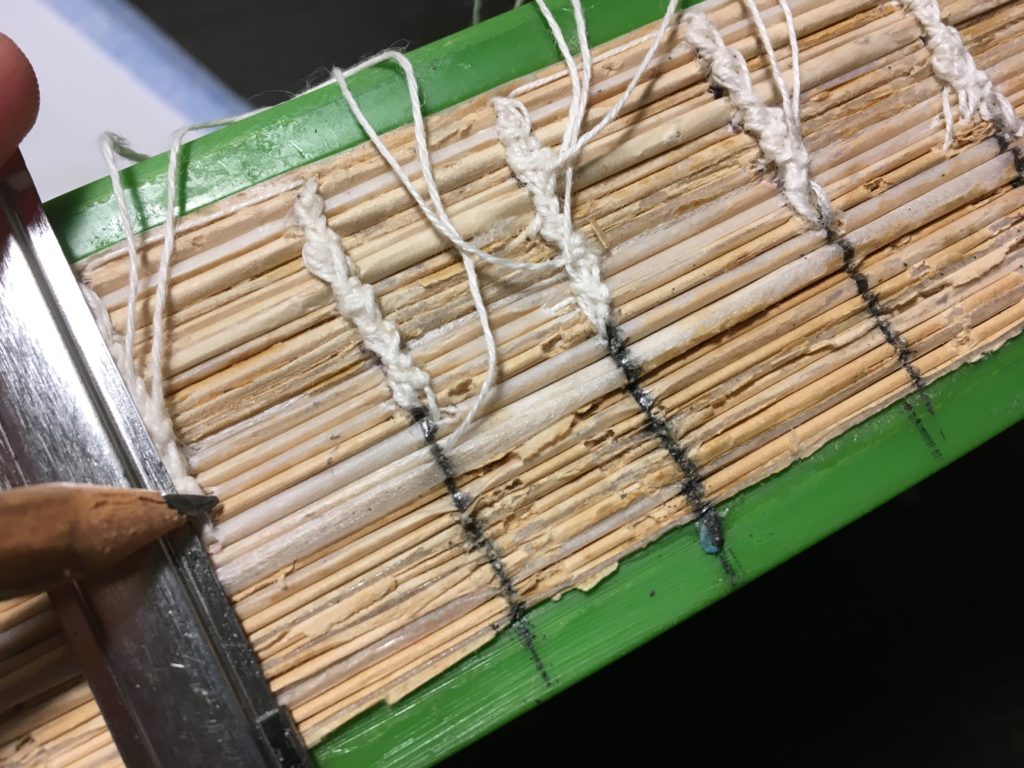
Marking the next-to-last group of signatures . . .
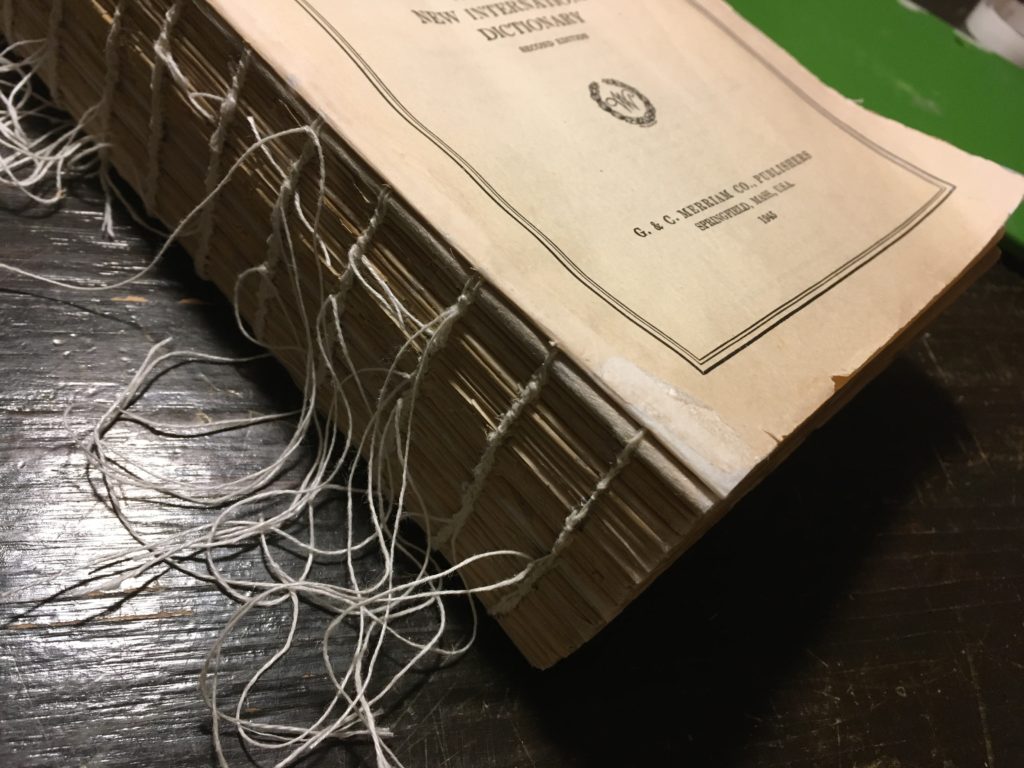
So happy to reach the last five signatures!
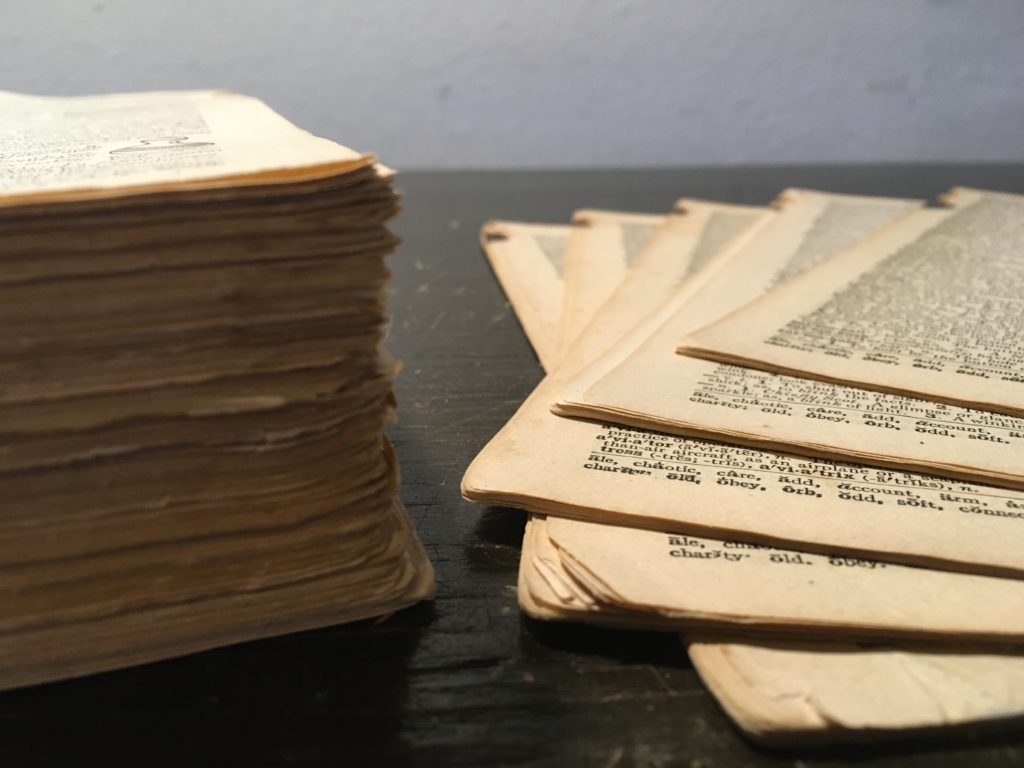
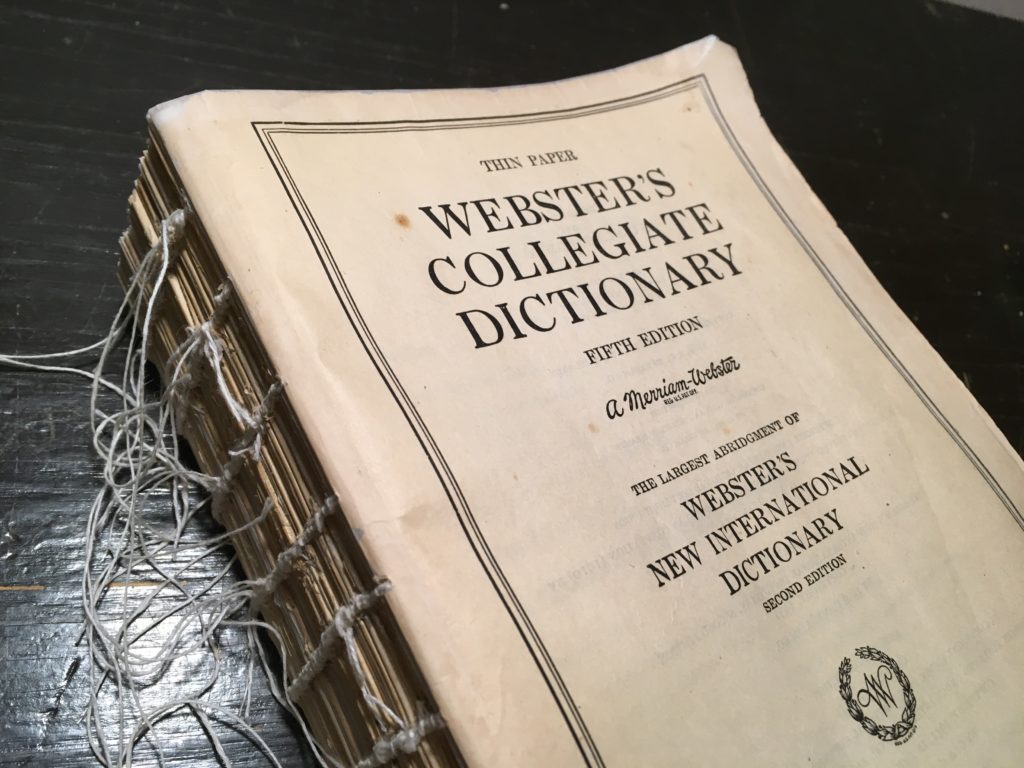
All done and back together!
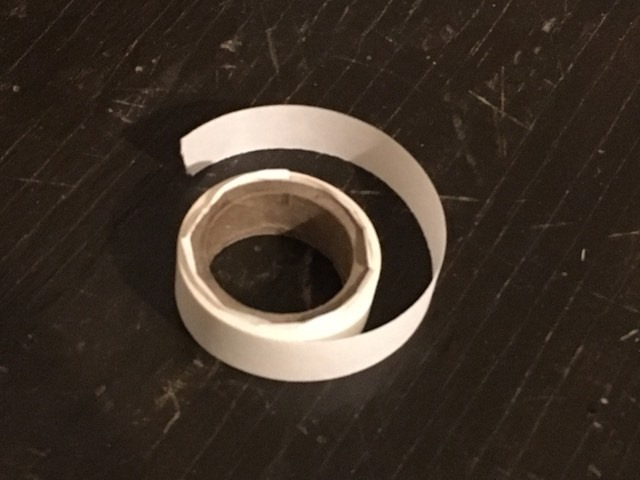
I noticed a few places here and there that needed a bit of tape;
this is all I had left at the end – just enough!
At last! All done and back together!
Next up will be tidying up the loose ends, plus adding the piece over the spine of the block that tightens things up and holds it all together.
I set a timer while I worked on a couple of the sections and did some multiplying and according to my calculations, I estimate this sewing step took approximately a million hours. 🙂
The main things I learned from this step (aside from the usual review of the lesson “haste make waste”, again!) were 1) I want to make improvements to my flower-press so that it can stand upright and stay there, like a proper book binding jig and 2) I will plan to get a real book binding sewing frame if I do another big book like this someday.
I was also reminded how much I enjoy the Coptic stitching; it’s very soothing.
Continue with Part 3 – Cover and Binding